How do I add an SSD slot to a laptop motherboard?
Are you running out of storage space on your laptop? Don’t worry, we’ve got you covered! In this guide, we’ll show you how to add an SSD slot to your laptop motherboard, boosting your storage capacity and improving performance. No need to be a tech expert – we’ll walk you through the process step by step.
Selecting the Right SSD Slot
Are you ready to upgrade your laptop’s storage with an SSD? Fantastic! But before diving into the installation process, it’s crucial to select the right SSD slot for your laptop motherboard. In this section, we’ll explore the various types of SSD slots available in the market and guide you through the compatibility factors to consider.
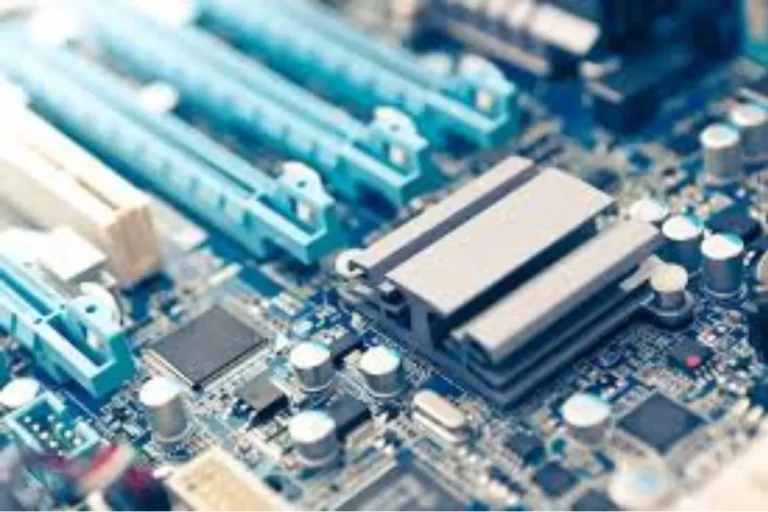
When it comes to SSD slots, you’ll encounter different form factors such as M.2, SATA, and PCIe. Each has its own advantages and limitations. The M.2 slot, for instance, is compact and offers faster data transfer speeds, while SATA slots are more common and affordable.
PCIe slots, on the other hand, provide lightning-fast performance but are less widespread.
Compatibility is key when selecting an SSD slot for your laptop motherboard. Check your laptop’s specifications or consult the manufacturer’s website to determine which slots are supported.
Consider factors like physical dimensions, interface type, and supported protocols. Don’t worry; it’s not as complicated as it sounds! recommendations. If you’re looking for a reliable and widely compatible SSD slot, the M.2 NVMe (PCIe) slot is a popular choice.
It offers exceptional speed and performance, perfect for demanding tasks. If affordability is your priority, a SATA SSD slot could be the way to go. It provides a good balance between speed and cost-effectiveness.
Preparing for Installation
Before you embark on the exciting journey of adding an SSD slot to your laptop motherboard, it’s important to be prepared. In this section, we’ll guide you through the necessary tools and equipment, emphasize the importance of backing up your data, and provide a checklist of safety precautions to ensure a smooth installation process.
First things first, let’s gather the essential tools and equipment. You’ll need a screwdriver set with various sizes, an antistatic wrist strap (if available), and thermal paste for reapplying on the CPU if necessary. These tools will help you navigate the internals of your laptop with ease.
Now, let’s discuss the importance of backing up your data. Whenever you make hardware changes, there’s a slight risk of data loss. It’s always better to be safe than sorry. Take a moment to back up all your important files and documents to an external storage device or use a cloud-based backup service.
This way, even if something goes wrong during the installation, your precious data will remain safe and sound. Safety should never be compromised, especially when working with delicate hardware components.
Before you start, make sure to follow a checklist of safety precautions. This includes turning off your laptop, disconnecting the power adapter and removing the battery (if possible), grounding yourself by touching a metal surface and working in a well-lit and static-free environment. These precautions will protect both you and your laptop from any accidental damage.
Opening the Laptop and Accessing the Motherboard

Now that you’re prepared with the necessary tools and have backed up your data, it’s time to open up your laptop and access the motherboard. In this section, we’ll provide detailed instructions on how to safely open the laptop case, guide you in locating and accessing the motherboard, and share tips for handling delicate components.
To begin, power off your laptop and disconnect all cables and peripherals. Lay the laptop on a clean and flat surface, preferably on a soft cloth or an anti-static mat to prevent any accidental damage. Now, let’s carefully remove the screws that secure the laptop case.
Refer to the manufacturer’s manual or online resources for the specific screw locations and sizes. Keep track of the screws by placing them in a small container or using a magnetic mat.
Once the screws are removed, gently pry open the laptop case using a plastic spudger or your fingernails.
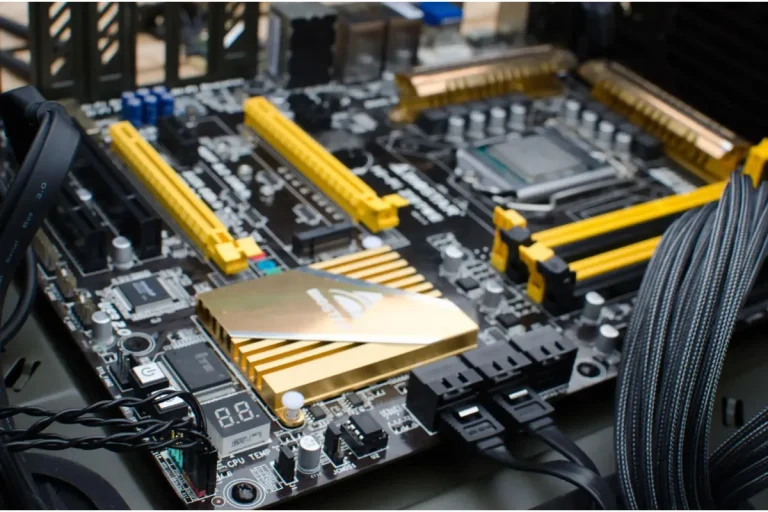
Take it slow and be mindful of any clips or latches that may be holding the case together. Avoid using excessive force, as this can cause damage to the case or internal components. The motherboard is the main circuit board that houses various components, including the SSD slot.
Look for a large, flat board usually positioned near the center of the laptop. Take note of any connectors or cables attached to it, as you’ll need to disconnect them to access the motherboard fully.
The common challenges and offer tips for handling delicate components. Delicate components like cables, connectors, and ribbon cables require gentle handling.
When disconnecting cables, use your fingers or a plastic tool to carefully lift the connectors and avoid pulling on the cables themselves. Take note of the orientation and position of the connectors to ensure proper reassembly later.
Installing the SSD Slot
Now that you’ve successfully opened your laptop and located the motherboard, it’s time to install the SSD slot onto the motherboard. In this section, we’ll guide you through the step-by-step process of installing the slot, explain how to secure it in place, ensure a proper connection, and provide troubleshooting tips for any installation issues.
To start, carefully align the SSD slot with the corresponding slot on the motherboard. Ensure that the connectors on the slot are facing the correct direction and match the orientation of the motherboard slot. Gently slide the SSD slot into the motherboard slot until it is firmly seated. Apply gentle pressure, but avoid using excessive force.
Once the SSD slot is in place, secure it using the screws provided with your SSD. Tighten the screws just enough to hold the slot securely, but be cautious not to overtighten as it may damage the motherboard or the slot itself. Double-check that the slot is aligned properly and sitting flush with the motherboard.
Now, it’s time to ensure a proper connection. Reconnect any cables or connectors that you disconnected earlier, making sure they are firmly seated in their respective slots. Take your time to ensure each connection is secure and properly aligned. This step is crucial for the SSD slot to function correctly.
If you encounter any issues during the installation process, here are a few troubleshooting tips. First, check all the connections and make sure they are secure. If the SSD slot is not being recognized by the system, try restarting your laptop and accessing the BIOS to check if the slot is detected. Additionally, ensure that the SSD is compatible with your laptop and that you have the necessary drivers installed.
Frequently asked questions
1. How do I test the newly installed SSD slot to ensure proper functionality?
After installing the SSD slot, power on your laptop and access the BIOS settings. Verify if the SSD is detected and listed as a storage device. You can also check the Device Manager in your operating system to confirm the presence of the SSD.
2. What is the process of closing the laptop case and securing all components?
To close the laptop case, carefully align the edges of the case and gently press it until the clips or latches snap into place. Make sure all the screw holes align correctly. Then, insert and tighten the screws in their respective locations.
3. Any tips on optimizing the SSD’s performance?
To optimize SSD performance, ensure that the firmware of the SSD is up to date. You can check the manufacturer’s website for any available firmware updates.
4. How can I manage storage on the newly installed SSD?
To manage storage on the SSD, consider organizing your files and folders efficiently. Move frequently accessed files to the SSD for faster access. Utilize cloud storage or external drives for less frequently used files to free up space on the SSD.
5. What should I do if the newly installed SSD is not functioning properly?
If you encounter issues with the newly installed SSD, double-check all connections to ensure they are secure. Verify that the SSD is compatible with your laptop and that you have installed the necessary drivers.
Conclusion
Adding an SSD slot to your laptop motherboard can greatly enhance its performance and storage capacity. By following the step-by-step installation process and ensuring a proper connection, you’ll be able to enjoy faster speeds and efficient storage management. Upgrade your laptop today and experience the benefits of an SSD!