How do I check if my motherboard or CPU is broken?
It might be time to investigate if your motherboard or CPU is the culprit. But how can you tell if they’re broken? In this guide, we’ll walk you through simple steps to check for signs of damage and run diagnostic tests to get to the bottom of the issue.
Preparing for Diagnosis
Before diving into diagnosing your motherboard or CPU, it’s crucial to take some necessary steps to ensure a safe and efficient process. By following these simple guidelines, you’ll be well-prepared to identify any potential issues.
Safely Shutting Down and Disconnecting Your Computer
- Save your work: Before shutting down your computer, make sure to save any open documents or files to prevent data loss.
- Proper shutdown: Click on the Start menu, select “Shut Down,” and wait for your computer to completely turn off. This ensures a clean shutdown and minimizes the risk of any lingering issues.
- Unplug the power: Once your computer is shut down, unplug the power cord from the electrical outlet. This step is crucial for your safety and helps prevent any accidental electrical shocks.
- Disconnect peripherals: Remove any external devices connected to your computer, such as printers, scanners, or USB drives. This ensures a clean and unobstructed workspace for the diagnosis process.
Necessary Tools and Precautions
- Screwdriver: Have a screwdriver (usually a Phillips head) handy to open the computer case and access the motherboard and CPU.
- Anti-static wrist strap: To prevent damage from static electricity, wear an anti-static wrist strap while working on your computer. This helps discharge any static buildup and protects sensitive components.
- Clean, well-lit workspace: Find a clean and well-lit area to perform the diagnosis. A clutter-free environment reduces the risk of misplacing screws or damaging delicate parts.
- Grounded surface: Place your computer on a ground surface, such as a wooden table or a non-carpeted floor. This further minimizes the risk of static electricity buildup.
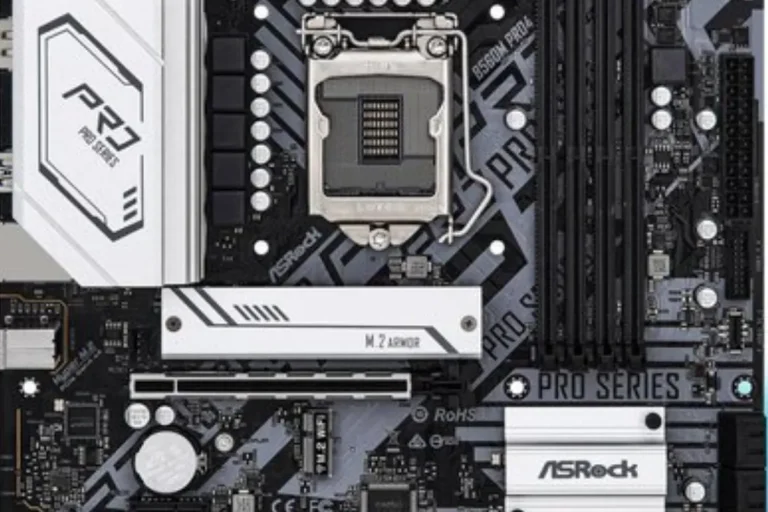
Visual Inspection
When it comes to diagnosing motherboard or CPU issues, a visual inspection can provide valuable clues. By carefully examining these components, you can identify physical damage or signs of malfunction. Let’s dive into the details!
Detailed Instructions for Visual Inspection
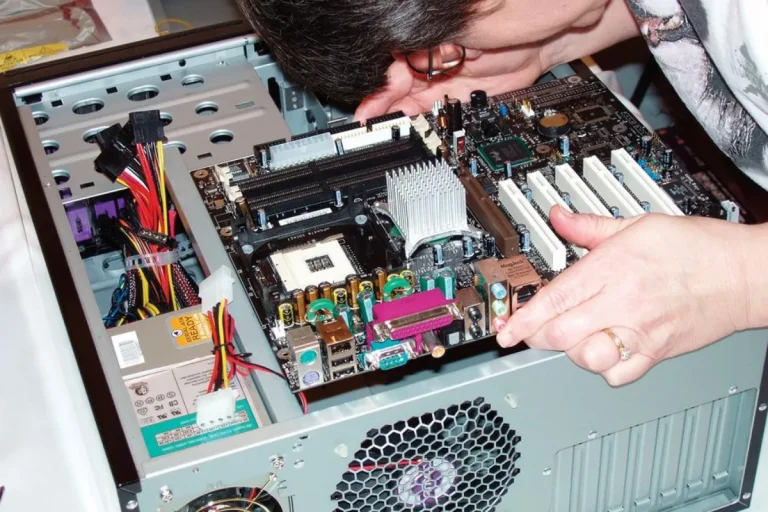
- Power off and unplug: Ensure your computer is turned off and unplugged from the power source before proceeding with the visual inspection. Safety first!
- Open the computer case: Use a screwdriver to remove the screws securing the computer case. Gently slide off the side panel to reveal the motherboard and CPU.
- Look for burn marks: Scan the motherboard and CPU for any burn marks. These dark or discolored spots indicate overheating or electrical damage.
- Check capacitors: Examine the capacitors on the motherboard. Look for any bulging or leaking capacitors, as they can cause instability and system failures.
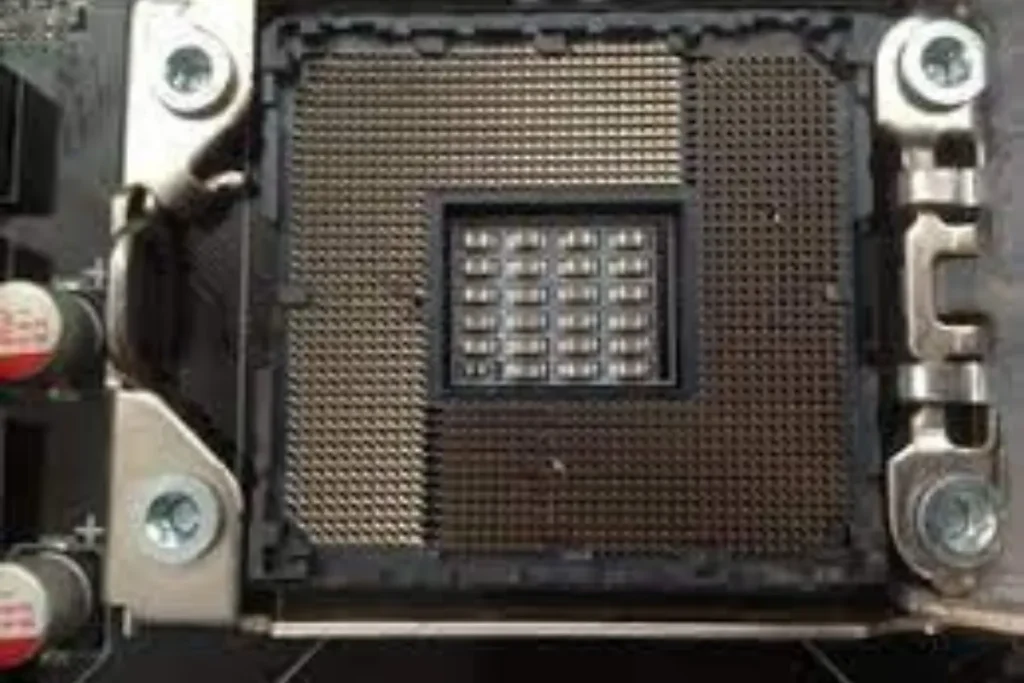
- Inspect pins: Carefully inspect the CPU socket for bent or damaged pins. Misaligned or broken pins can prevent proper contact and affect performance.
- Cleanliness matters: Pay attention to dust accumulation on the motherboard and CPU. Excessive dust can cause overheating and impact overall functionality.
Highlighting Signs of Damage
- Burn marks: Dark or discolored spots on the motherboard or CPU indicate overheating or electrical damage.
- Bulging capacitors: Capacitors with a bulging or leaking appearance can lead to system instability and failures.
- Bent pins: Misaligned or damaged pins in the CPU socket can disrupt proper contact and affect performance.
Testing the Motherboard
To accurately diagnose motherboard issues, it’s essential to perform thorough testing. This involves checking power supply connectors, and voltage levels, and isolating potential problems by removing and reseating components. Let’s dive into the details!
Using a Multimeter for Power Supply Connectors and Voltage Levels
- Safety first: Ensure your computer is turned off and unplugged before proceeding with any testing. Safety should always be the priority!
- Power supply connectors: Using a multimeter, carefully check the power supply connectors on the motherboard. Ensure they are securely connected and provide the correct voltage levels.
- Voltage levels: With the multimeter set to DC voltage, test the voltage levels on various points of the motherboard. Common voltage points include the CPU power connector and the RAM slots.
Removing and Reseating Components to Isolate Issues
- RAM: Start by removing the RAM sticks from their slots. Carefully reseat them back in, ensuring they are properly secured. Faulty RAM can cause system instability and crashes.
- Graphics card: If you have a dedicated graphics card, remove it from the motherboard and reseat it firmly. A loose or faulty graphics card can result in display issues or system freezes.
- Other components: Consider removing and reseating other components such as expansion cards (e.g., sound card, network card) and cables. Loose connections can cause intermittent problems.
Frequently asked questions
1. How do I properly remove and reseat the CPU?
To remove the CPU, gently lift the CPU retention lever on the motherboard socket. Carefully lift the CPU straight out, avoiding any excessive force.
2. What is CPU stress-testing software, and why is it important?
CPU stress-testing software is designed to push your CPU to its limits, checking for overheating or stability issues. It helps identify potential problems such as inadequate cooling or faulty CPU performance, ensuring your system runs smoothly and reliably under heavy workloads.
3. Are there any recommended CPU stress-testing software programs?
Yes, there are several popular and reliable CPU stress-testing software options available. Some recommendations include Prime95, IntelBurnTest, and AIDA64. These programs are widely used by professionals and enthusiasts to assess CPU performance and stability.
4. How long should I run CPU stress-testing software?
The duration of CPU stress testing depends on the software and the purpose of the test. For basic stability testing, running the software for 15-30 minutes can be sufficient.
5. What should I do if my CPU temperature gets too high during stress testing?
If your CPU temperature rises excessively during stress testing, it indicates a cooling problem. Ensure that your CPU cooler is properly installed and functioning.
Conclusion
To check if they’re broken, start by examining physical signs like burn marks or swollen capacitors. Then, run diagnostic tests, such as memory testing or stress-testing the CPU. If all else fails, consult a professional for expert help. Stay calm, follow the steps, and get your computer back on track