How do I connect an ATA hard drive to a SATA motherboard?
Are you wondering how to connect an older ATA hard drive to a modern SATA motherboard? Don’t worry, we’ve got you covered! In this guide, we’ll walk you through the simple steps to make this connection, allowing you to utilize your existing hard drive with a newer system.
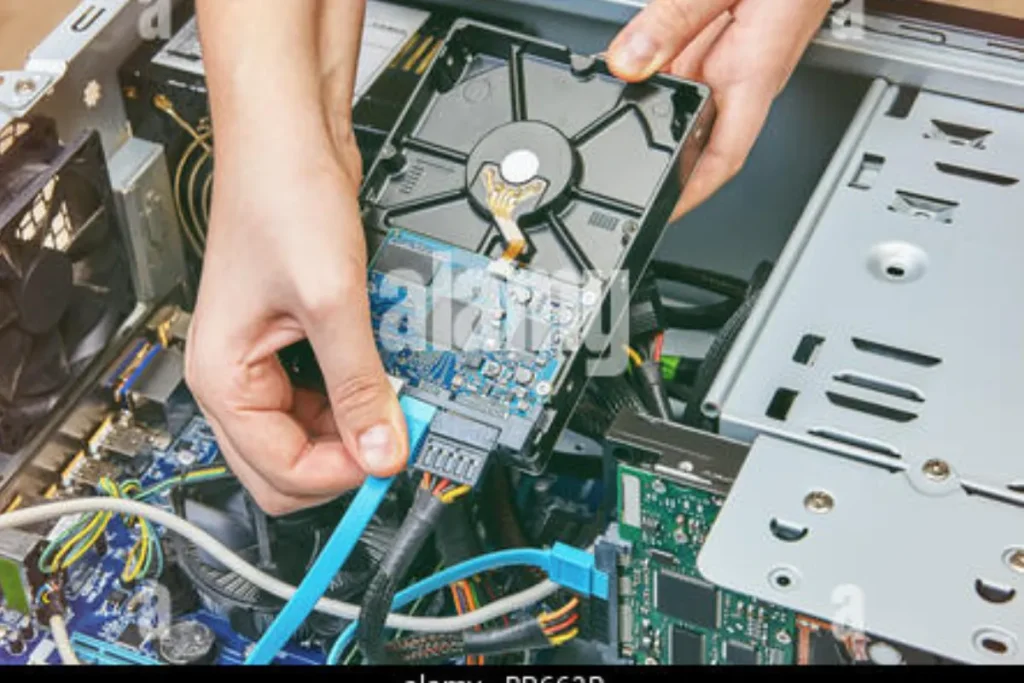
ATA to SATA Adapter
The ATA to SATA adapter is the key component that allows the connection between the ATA hard drive and the SATA motherboard. It acts as a bridge, converting the ATA interface to the SATA interface. Look for a reliable adapter that is compatible with your specific hard drive and motherboard.
Power Adapter Cable
Since the power connectors on ATA hard drives and SATA motherboards differ, you’ll need a power adapter cable. This cable connects the power supply unit to the ATA hard drive, providing the necessary power for it to function. Ensure the power adapter cable matches the connectors on both ends.
SATA Data Cable
For data transfer between the ATA hard drive and the SATA motherboard, you’ll require a SATA data cable. This cable connects the ATA to the SATA adapter to the motherboard’s SATA connector. Opt for a high-quality SATA data cable to ensure reliable and fast data transmission.
Screwdriver
A screwdriver is essential for securing the ATA to SATA adapter and the ATA hard drive to the computer case. Make sure to choose a screwdriver that fits the screws used in your computer case to avoid any damage during installation.
Troubleshooting Tips
Encountering issues while connecting an ATA hard drive to a SATA motherboard can be frustrating. But worry not! We’ve got you covered with some troubleshooting tips to help you overcome common problems and ensure a successful connection.
Compatibility Check
Before starting the connection process, ensure that your ATA hard drive and SATA motherboard are compatible. Consult the documentation or the manufacturer’s website for compatibility information. If they are not compatible, consider alternative solutions or upgrading your hardware.
Check Adapter Connections
Ensure that all connections between the ATA to SATA adapter, the ATA hard drive, and the SATA motherboard are secure. Loose connections can cause connectivity issues. Double-check the cables and adapter to ensure they are properly seated.
Alternative Methods
If you’re still facing difficulties, consider alternative methods. One option is to use a USB adapter or enclosure specifically designed for ATA hard drives. This allows you to connect the ATA drive externally via USB, bypassing any compatibility issues with the SATA motherboard.
Safety Precautions
When it comes to working with computer hardware, following safety precautions is of utmost importance. Ensuring your safety and the protection of the components you’re handling should be your top priority. Let’s take a look at some essential tips to keep in mind.
Static Electricity Discharge Prevention
Static electricity can cause irreversible damage to sensitive computer components. To prevent static discharge, it’s crucial to ground yourself before handling any hardware. Simply touch a grounded metal object, such as a doorknob or a metal part of the computer case, to discharge any static electricity from your body.
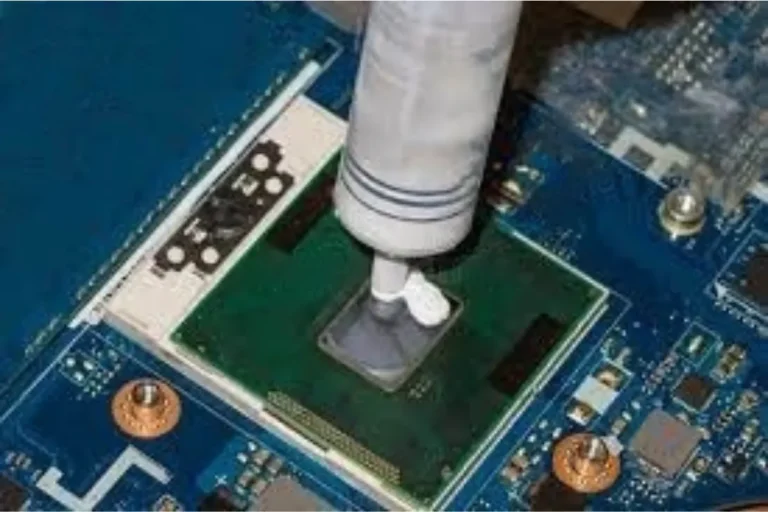
Handling Fragile Components
Computer hardware components, such as the ATA hard drive and the motherboard, are delicate and can be easily damaged if mishandled. Handle them with care, avoiding excessive force or pressure. When removing or installing components, gently hold them by their edges, avoiding contact with any sensitive parts or connectors.
Power Off and Unplug
Before working on your computer, always remember to power it off and unplug it from the electrical outlet. This eliminates the risk of electric shock and prevents any accidental power surges or short circuits during the hardware installation or removal process.
Frequently asked questions
1. Why is it important to power off the computer and unplug all cables before working on it?
Powering off the computer and disconnecting all cables is crucial for your safety. It eliminates the risk of electric shock and prevents any accidental power surges or short circuits during the hardware installation or removal process.
2. How can I locate the ATA hard drive and identify its connectors?
To locate the ATA hard drive, open your computer’s case and look for a rectangular-shaped device mounted inside. It is usually connected with cables, such as the IDE ribbon cable or the ATA power cable.
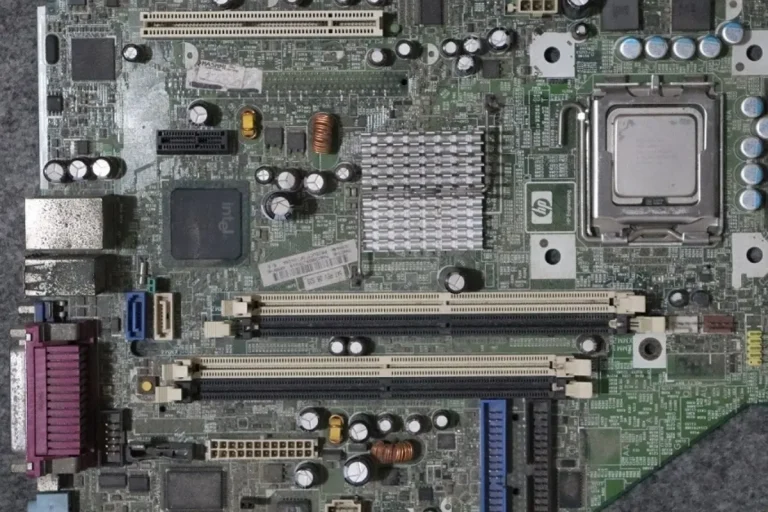
3. How do I identify the motherboard’s SATA connectors?
To identify the motherboard’s SATA connectors, locate the rectangular-shaped ports on the motherboard. The SATA connectors are typically smaller and have a L-shaped notch on one side. They are often labeled as SATA followed by a number (e.g., SATA1, SATA2) to indicate the different ports available.
4. Can I connect an ATA hard drive to a motherboard with only SATA connectors?
Yes, you can connect an ATA hard drive to a motherboard with only SATA connectors. You will need an ATA to SATA adapter, which allows you to connect the ATA hard drive to the SATA port on the motherboard.
5. Are all SATA connectors on the motherboard the same?
No, not all SATA connectors on the motherboard are the same. Some motherboards may have different generations of SATA connectors, such as SATA 2.0 or SATA 3.0. The newer generations offer faster data transfer speeds.
Conclusion
connecting an ATA hard drive to a SATA motherboard is possible with the help of an ATA to SATA adapter. This adapter allows for compatibility between the different connector types. By following the manufacturer’s instructions, you can easily install the adapter and connect your ATA hard drive to enjoy expanded storage capabilities.