How do I enable dual-channel RAM in a BIOS gigabyte?
Looking to boost your computer’s memory performance? One way to do it is by enabling dual-channel RAM in your Gigabyte BIOS. Dual-channel RAM allows for faster data access, resulting in improved system speed.
In this guide, we’ll walk you through the simple steps to enable dual-channel RAM and supercharge your computer’s performance.
Checking Compatibility
Before diving into enabling dual-channel RAM in your Gigabyte BIOS, it’s crucial to ensure that your motherboard supports this feature. In this section, we’ll guide you through the steps to verify compatibility and identify the RAM slots needed for dual-channel configuration.
To begin, you need to check your motherboard’s specifications. Consult the user manual or visit the manufacturer’s website to find the model number and search for its specifications. Look for indications of dual-channel support. This information will confirm whether your motherboard can take advantage of dual-channel RAM.
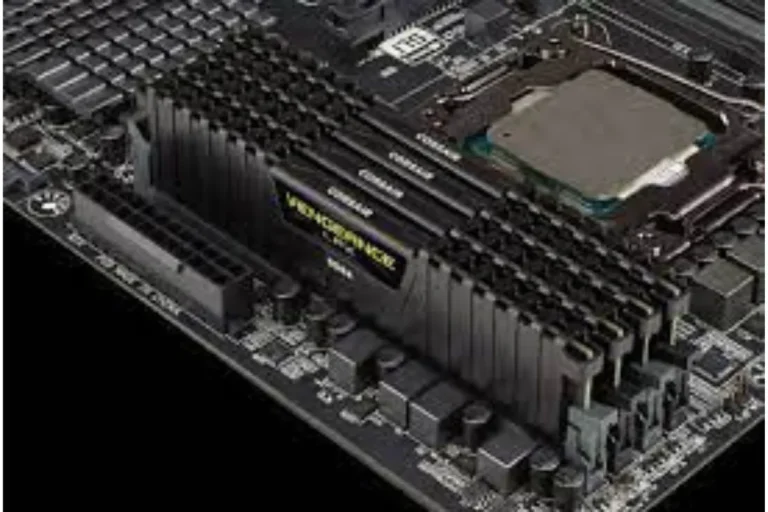
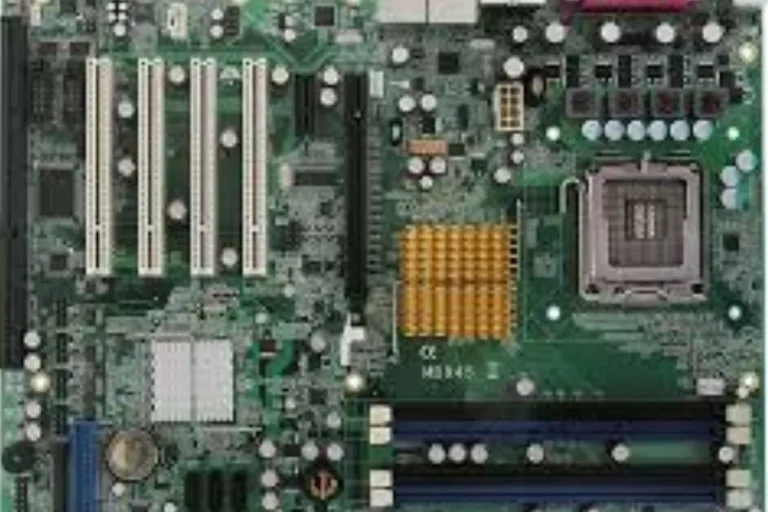
Next, you’ll need to identify the RAM slots that need to be populated for dual-channel configuration. Most motherboards have color-coded RAM slots to indicate the dual-channel configuration.
Typically, these slots are grouped together, with different colors distinguishing the channels. For example, slots 1 and 3 may be one color, while slots 2 and 4 are another. To ensure proper dual-channel functionality,
you’ll need to install the RAM modules in the corresponding colored slots. Refer to your motherboard’s manual for the specific slot configuration, as it may vary depending on the model.
Remember, it’s essential to populate the correct slots to enable dual-channel mode.
If you place the RAM modules in non-matching slots, the system will not utilize dual-channel functionality, and you won’t benefit from the improved performance.
Preparing the System
Before installing dual-channel RAM in your Gigabyte BIOS, it’s important to take a few precautionary steps to ensure the safety of your components. In this section, we’ll guide you through the process of preparing your system for the RAM installation.
First and foremost, power off your computer and disconnect it from the power source. This step is crucial to prevent any electrical mishaps and protect your hardware. Shutting down the computer ensures that there is no power running through the system, reducing the risk of damage during the installation process.
Static electricity can be a silent enemy when working with computer components. To safeguard against static electricity damage, it’s essential to ground yourself properly. Static electricity can easily build up in your body and discharge onto sensitive components, potentially causing irreversible damage.
To ground yourself, start by touching a grounded metal object, such as the metal part of your computer case or a grounded outlet cover. This action helps to equalize the electrical potential between you and the components, minimizing the risk of static discharge.
Enabling Dual-Channel RAM in BIOS
Now that you have successfully installed the dual-channel RAM modules in your Gigabyte motherboard, it’s time to optimize their performance by enabling dual-channel mode in the BIOS settings. In this section, we’ll guide you through the process of accessing the BIOS and configuring the settings.
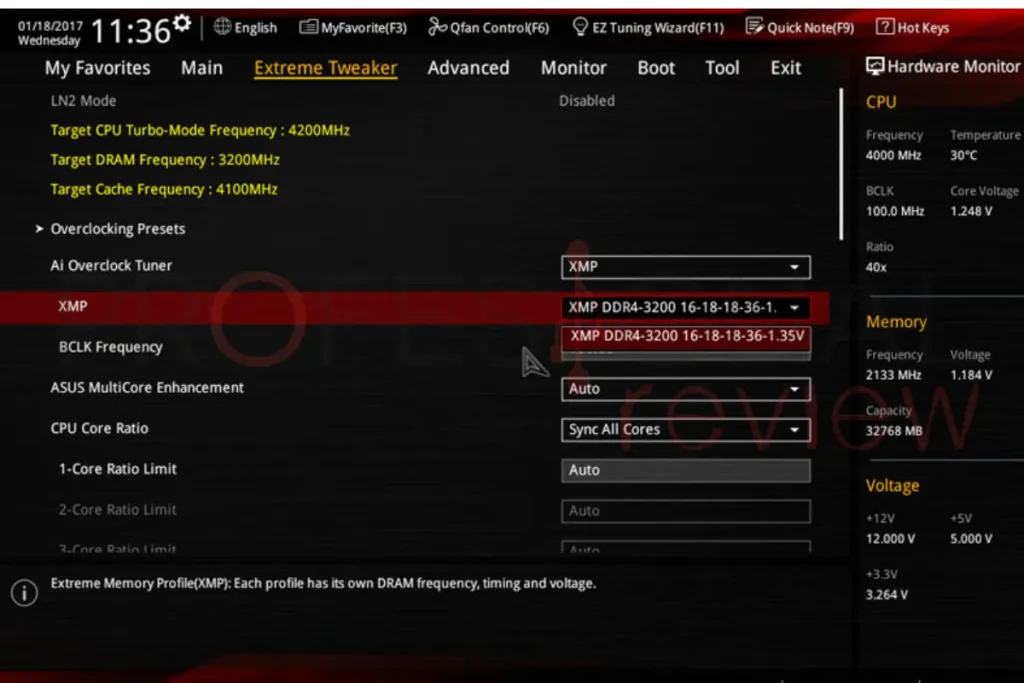
To begin, restart your computer and enter the BIOS by pressing the designated key during the boot-up process. The specific key may vary depending on your motherboard model, but commonly used keys include F2, F10, or Delete. Refer to your motherboard’s user manual for the exact key.
Once you’re in the BIOS, navigate to the “Advanced” or “Settings” menu using the arrow keys. Look for an option related to memory settings or RAM configuration. This option may be labeled as “Memory Settings,” “DRAM Configuration,” or something similar.
Within the memory settings, locate the option for dual-channel mode. It is usually set to “Auto” by default. Use the arrow keys to select the option and change it to “Enabled” or “Dual-Channel.”
After making the change, save the settings and exit the BIOS. On most Gigabyte motherboards, you can do this by pressing the F10 key and confirming your selection.
Once your computer restarts, the dual-channel RAM mode will be enabled, allowing your system to take full advantage of the increased bandwidth and improved performance.
Saving Changes and Rebooting
Once you have made the necessary configurations in the BIOS settings of your Gigabyte motherboard, it’s important to save those changes and reboot your computer for them to take effect. In this section, we’ll guide you through the process of saving changes and rebooting your system.
After you have finished making the desired changes in the BIOS, navigate to the “Exit” or “Save & Exit” menu using the arrow keys. This menu typically allows you to save the changes and exit the BIOS interface.
Within the “Exit” menu, you will find an option to save the changes you have made. It is usually labeled as “Save Changes and Exit,” “Save Configuration,” or something similar. Use the arrow keys to select this option.
Once you have selected the option to save the changes, a confirmation prompt may appear. Make sure to choose “Yes” or “OK” to confirm and save the changes you made in the BIOS.
After saving the changes, the BIOS will exit, and your computer will automatically reboot. During the reboot process, the changes you made will be applied, and your system will start up with the updated configurations.
It is important to note that if you encounter any issues or instability after making changes in the BIOS, you can always revert to the default settings. Most Gigabyte motherboards provide an option to load the default settings within the BIOS.
Frequently asked questions
1. How can I confirm if dual-channel RAM is successfully enabled?
To confirm if dual-channel RAM is enabled, you can check the BIOS settings. Look for a section that displays memory information, where it should indicate if dual-channel mode is active.
2. Is there a way to check my system information to verify dual-channel configuration?
Yes, you can check your system information in the operating system. On Windows, press the Windows key + R, type “msinfo32,” and hit Enter. Look for the “Memory” section, which should show the channel mode.
3. Are there any benchmark tools that can help me verify dual-channel configuration?
Yes, there are benchmark tools available. One popular option is CPU-Z, which provides detailed information about your system, including memory configuration. It will display if the dual-channel mode is active.
4. Can I use task manager to check if dual-channel RAM is working?
While the task manager provides system information, it doesn’t specifically display memory channel mode. It’s better to rely on the BIOS settings or dedicated tools like CPU-Z for accurate confirmation.
5. What should I do if dual-channel RAM is not enabled?
If dual-channel RAM is not enabled, ensure that the RAM modules are properly installed in the correct slots according to the motherboard’s instructions.
Conclusion
In conclusion, enabling dual-channel RAM in a Gigabyte BIOS is a straightforward process that can greatly enhance your system’s performance. By following the steps outlined in this guide and accessing the BIOS settings.
you can easily configure your Gigabyte motherboard to take advantage of the benefits offered by dual-channel memory. Boost your computer’s speed and efficiency with this simple tweak.