How do I remove the graphics card from the motherboard?
Are you ready to upgrade your computer’s graphics card or troubleshoot an issue? Removing the graphics card from the motherboard is a crucial step in the process. In this easy-to-follow guide, we’ll show you how to safely remove your graphics card, ensuring a smooth transition or resolution.
Preparing for Removal
Before you embark on removing the graphics card from your computer’s motherboard, it’s crucial to take a few preparatory steps. By following these guidelines, you can ensure a smooth and safe removal process.
Computer and Disconnecting the Power Supply
The first and most important step is to turn off your computer completely. Shutting down the system ensures that no electricity is flowing through the components, minimizing the risk of electrical shock or damage. Locate the power button on your computer and press it until the system powers down.
it’s essential to disconnect the power supply. Unplug the power cord from the wall outlet or surge protector. This step is crucial to prevent any accidental power surges that could harm both you and your computer’s components.
Grounding Yourself to Prevent Static Electricity Damage
Static electricity can be a silent killer for delicate computer components, such as the graphics card. To prevent any potential damage, it’s essential to ground yourself before touching any internal parts of your computer.
To ground yourself, you can either wear an anti-static wrist strap or simply touch a grounded metal object, such as a metal doorknob or the metal part of a grounded electrical outlet. This action helps discharge any built-up static electricity from your body, ensuring a safe environment for handling sensitive computer parts.
Tools Required for the Removal Process
To successfully remove the graphics card, you’ll need a few basic tools. Here is a list of essential tools you should have on hand:
- Screwdriver (typically Phillip’s head)
- Anti-static wrist strap (optional but recommended)
- Compressed air canister (for cleaning, if needed)
These tools will aid you in safely removing the graphics card without causing any damage to the card or other components of your computer.
Locating the Graphics Card
When it comes to removing a graphics card from your computer’s motherboard, it’s essential to know its exact location. In this section, we’ll guide you through finding the graphics card, understanding different types of graphics card slots, and providing visual aids for better comprehension.
Where to Find the Graphics Card on the Motherboard
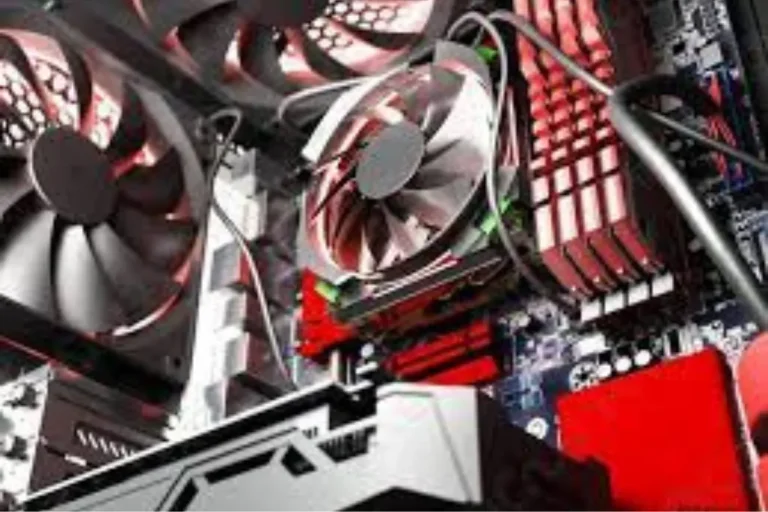
The graphics card is a vital component responsible for rendering images and videos on your computer. Typically, it is located in a dedicated expansion slot on the motherboard. In desktop computers, the graphics card is often positioned horizontally near the rear side of the case.
To locate the graphics card, you’ll need to open your computer’s case.
After removing the side panel, take a close look at the motherboard. The graphics card will be inserted into one of the expansion slots, usually situated below the processor and memory modules.
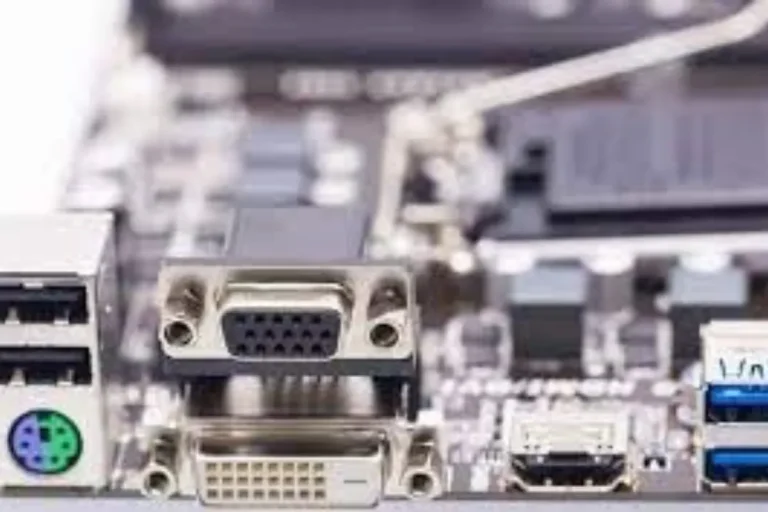
Different Types of Graphics Card Slots
Graphics cards can be installed in various types of slots, depending on the motherboard’s specifications. The most common types are PCI Express (PCIe) slots. These slots come in different sizes, including PCIe x16, PCIe x8, PCIe x4, and PCIe x1. The PCIe x16 slot is the primary slot used for high-performance graphics cards.
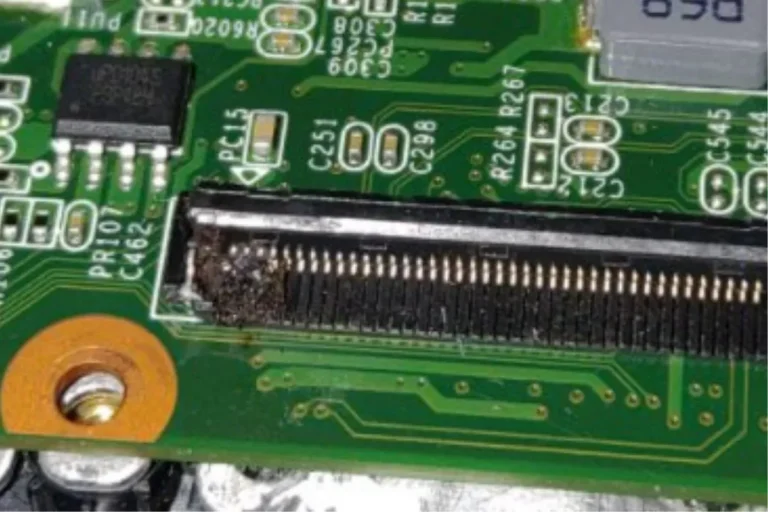
Identifying the graphics card slot can be done by observing its physical appearance. PCIe slots have a distinct appearance with multiple small, metal connectors on the bottom. The PCIe x16 slot is usually longer than other PCIe slots, providing more bandwidth and compatibility for powerful graphics cards.
Illustrations or Images for Better Visual
To assist you in visualizing the graphics card’s location and different types of slots, refer to the following illustrations:
These images will provide a clear visual representation, helping you identify the graphics card and understand the various slot types.
Removing the Graphics Card
Now that you’ve located the graphics card on your computer’s motherboard, it’s time to safely remove it. In this section, we’ll guide you through the process step-by-step, ensuring a smooth and secure removal.
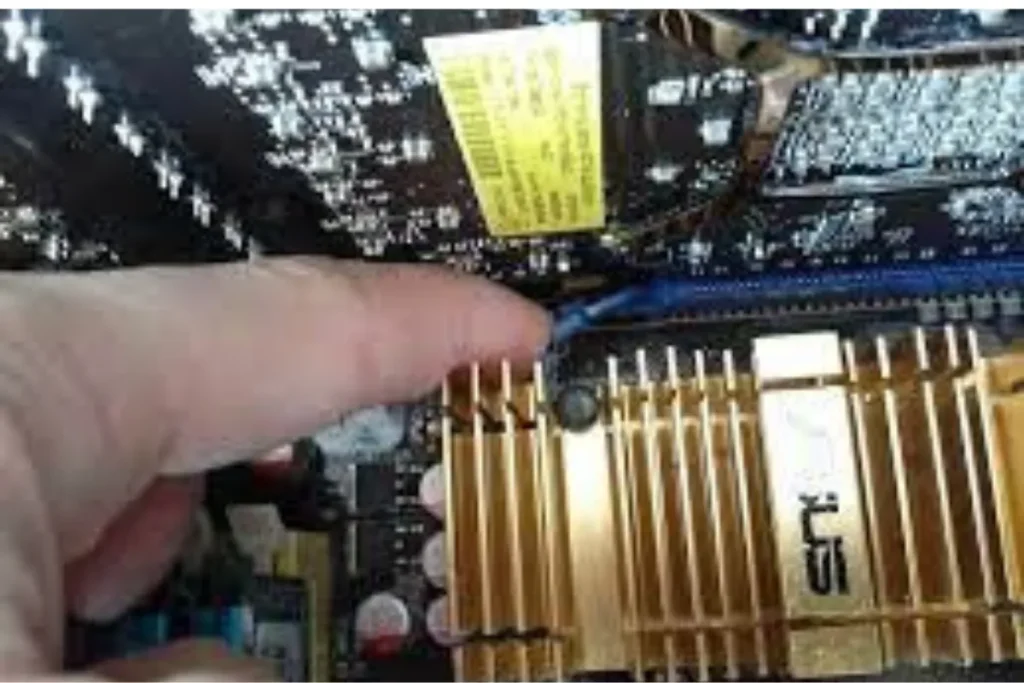
Safely Removing Securing Screws or Clips
Before removing the graphics card, it’s essential to check if there are any securing screws or clips holding it in place. These screws or clips are used to fasten the card to the expansion slot, ensuring a secure connection.
Using a screwdriver, gently loosen and remove any screws that are holding the graphics card in place. If there are clips, carefully unfasten them by pushing or releasing the latch, depending on the type of clip used. Take your time and ensure that all securing mechanisms are completely released before proceeding.
Power Cables Attached to the Graphics Card
To prevent any damage or strain on the components, it’s important to disconnect the power cables attached to the graphics card. These cables provide the necessary power for the card to function.
Gently locate the power cables connected to the graphics card. Depending on your setup, there might be one or multiple cables. Firmly hold the connector and gently pull it straight out from the graphics card. Avoid applying excessive force or pulling at an angle, as this can damage the connectors or the card itself.
Carefully Remove the Graphics Card
With the securing screws or clips removed and the power cables disconnected, you are now ready to remove the graphics card from the slot. Using both hands, firmly hold the edges of the graphics card and gently rock it back and forth while pulling it straight up. Be cautious not to bend or twist the card during this process.
Once the graphics card is free from the slot, place it in a safe and static-free location. If you plan to replace the card or reinstall it later, it’s recommended to store it in an anti-static bag or container.
Frequently asked questions
1. What should I do if the securing screws or clips are stuck or difficult to remove?
If the securing screws or clips are stuck, try using a screwdriver with a better grip or a pair of pliers to loosen them.
2. How can I clean the graphics card and the motherboard slot?
To clean the graphics card and motherboard slot, use a can of compressed air to blow away any dust or debris. Avoid using liquid cleaners or abrasive materials, as they can cause damage.
3 What precautions should I take when reseating a graphics card?
When reseating a graphics card, ensure that your computer is powered off and unplugged. Handle the card with care, avoiding excessive force or bending. Align the card properly with the slot before gently inserting it.
4. How do I install a new graphics card?
Installing a new graphics card follows a similar process to removing the old one. Start by locating the appropriate expansion slot on the motherboard, ensuring compatibility with the new card.
5. What if my computer doesn’t recognize the newly installed graphics card?
If your computer doesn’t recognize the new graphics card, first check that it is properly seated in the slot and all power cables are securely connected.
Conclusion
In conclusion, removing the graphics card from the motherboard is a straightforward process that requires some careful steps. By safely removing securing screws or clips, gently disconnecting power cables, and carefully removing the card from the slot, you can ensure a smooth removal without any risk of damage.