How do you diagnose and repair a motherboard failure?
Is your computer acting up? It might be a motherboard failure causing all the trouble and worry, diagnosing and repairing this critical component doesn’t have to be rocket science. In this guide, we’ll walk you through the process step-by-step, using simple language and avoiding technical jargon.
Diagnosing a Motherboard Failure
When your computer starts acting up, it’s important to pinpoint the root cause. In this section, we will guide you through a step-by-step process to determine if a motherboard failure is to blame. Don’t worry, we’ll keep it simple and easy to understand.
Checking the Power Supply
The first thing to check is the power supply. Make sure it is properly connected and supplying enough power to the motherboard. Look for any loose connections or damaged cables. Sometimes, a faulty power supply can mimic motherboard issues, so it’s crucial to rule this out.
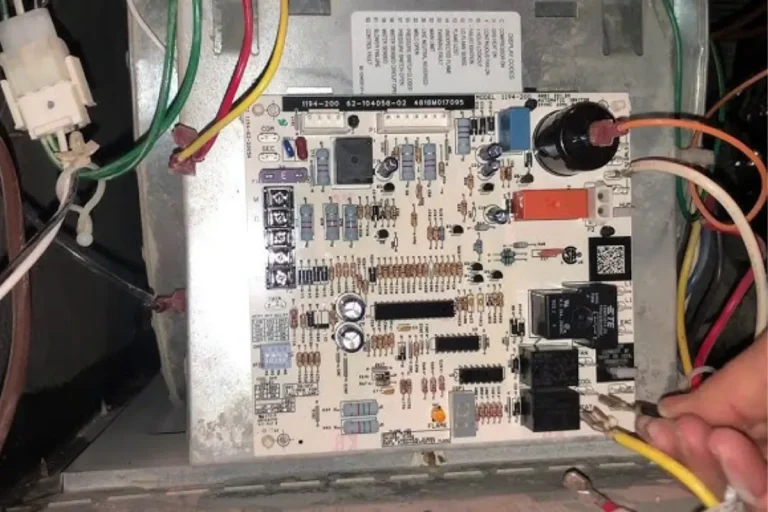
Inspecting Physical Damage
Next, visually inspect the motherboard for any signs of physical damage. Look for burnt or swollen capacitors, loose components, or any unusual marks. Physical damage can indicate a failed motherboard, but it’s always good to double-check before jumping to conclusions.
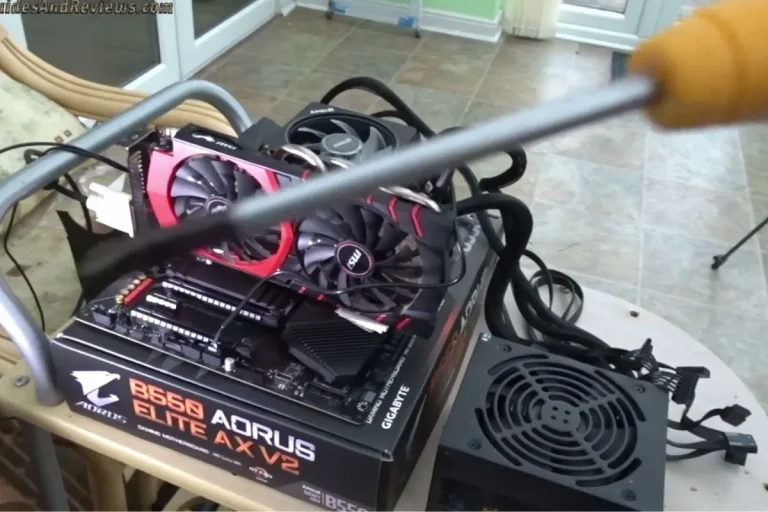
Testing with Minimal Hardware Setup
To further narrow down the issue, disconnect all unnecessary hardware components such as graphics cards, extra RAM, or expansion cards. Leave only the essential components connected, including the CPU, RAM, and power supply. By stripping down the system to its bare minimum, you can eliminate any potential conflicts or faulty peripherals.
Analyzing Error Beep Codes
When you power on your computer, listen for any error beep codes. These beeps can provide valuable information about the nature of the problem. Consult your motherboard’s manual or manufacturer’s website to decipher the meaning of the beep codes and troubleshoot accordingly.
Using Diagnostic Software
Finally, utilize diagnostic software to gather more information about the motherboard’s health. There are various software tools available that can detect hardware issues, monitor temperatures, and check for any firmware updates. These tools can provide valuable insights and assist in diagnosing the problem accurately.
Repairing a Motherboard Failure
When it comes to fixing a motherboard failure, there are several repair options available depending on the diagnosis. In this section, we will provide an overview of these options, ensuring that you have a clear understanding of the potential solutions.
Replacing Faulty Components
If the diagnosis reveals that specific components on the motherboard are causing the failure, replacing those components might be the solution.
Commonly replaced components include capacitors, memory modules, or voltage regulator modules (VRMs). It’s important to ensure compatibility and follow proper installation procedures when replacing components.
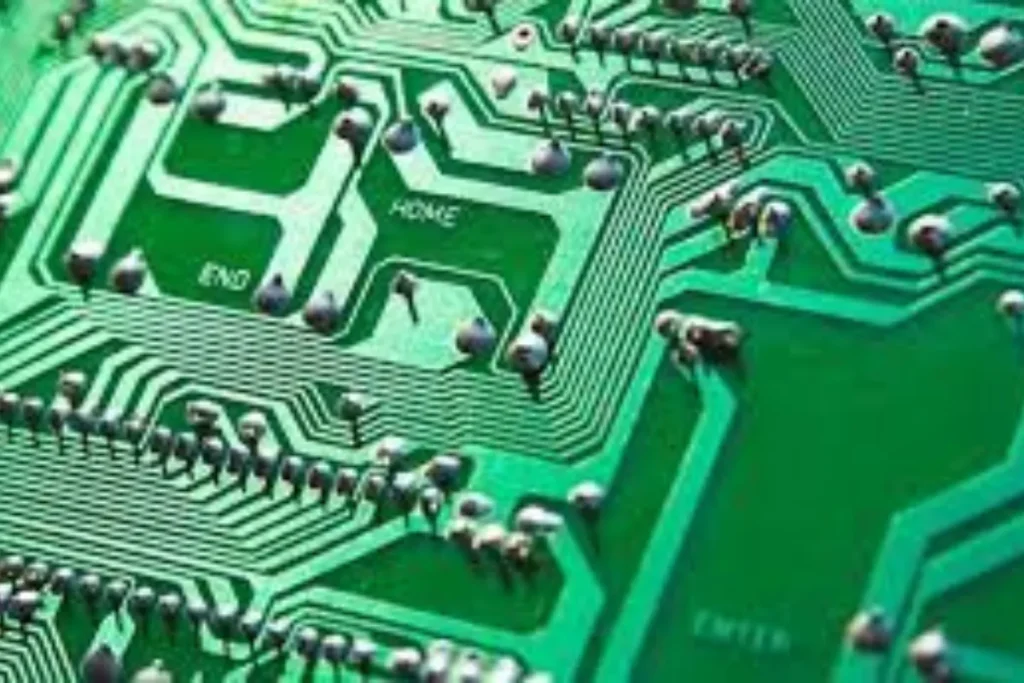
Soldering and Reflowing Techniques
In some cases, faulty connections or solder joints can lead to motherboard failures. Skilled technicians can use soldering and reflowing techniques to fix these issues. By carefully heating and reflowing the solder, they can restore the connections and functionality of the affected components.
BIOS Updates and Firmware Fixes
Motherboard manufacturers often release BIOS updates and firmware fixes to address known issues and improve compatibility. If the diagnosis points to a firmware-related problem, updating the motherboard’s BIOS or firmware might resolve the issue.
It’s crucial to follow the manufacturer’s instructions carefully to ensure a successful update.
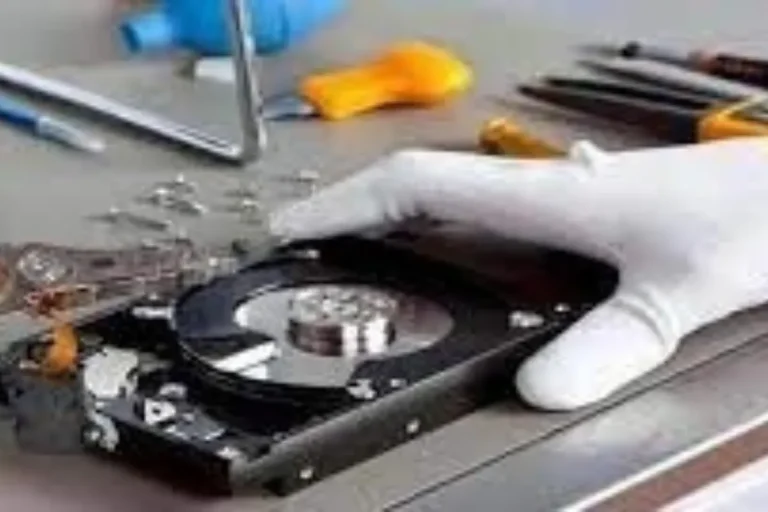
Seeking Professional Assistance
Repairing a motherboard can be complex and requires technical knowledge. If you’re uncomfortable with attempting the repairs yourself or the diagnosis is uncertain, it’s best to seek professional assistance.
Certified technicians have the expertise and specialized equipment to diagnose and repair motherboard failures accurately.
Frequently asked question
1. How can I prevent motherboard failures?
To prevent motherboard failures, ensure that your computer is properly grounded and protected against power surges. Use a high-quality power supply, avoid overclocking beyond recommended limits, and keep your system cool to prevent overheating.
2. What are some tips for maintaining a healthy motherboard?
Maintaining a healthy motherboard involves regular monitoring and maintenance. Keep your system up to date with the latest BIOS and firmware updates, and regularly clean and dust your computer.
3. Why is regular cleaning and dust control important for a motherboard?
Regular cleaning and dust control are essential for a motherboard’s longevity. Dust accumulation can hinder proper airflow and lead to overheating, which can damage sensitive components.
4. How often should I clean my motherboard and its components?
The frequency of cleaning your motherboard depends on the environment and usage. In general, it is recommended to clean your motherboard every 3 to 6 months. However, if you notice excessive dust buildup or experience temperature issues.
5. What cleaning methods should I use to clean my motherboard?
When cleaning your motherboard, use compressed air or an anti-static brush to remove dust and debris. Avoid using liquid cleaners as they can damage the components.
Conclusion
In conclusion, diagnosing and repairing a motherboard failure requires careful analysis and technical expertise.
proper troubleshooting steps and seeking professional assistance when needed, you can effectively identify the root cause of the issue and implement the appropriate repair solutions. Remember, a healthy motherboard is the backbone of a well-functioning computer system