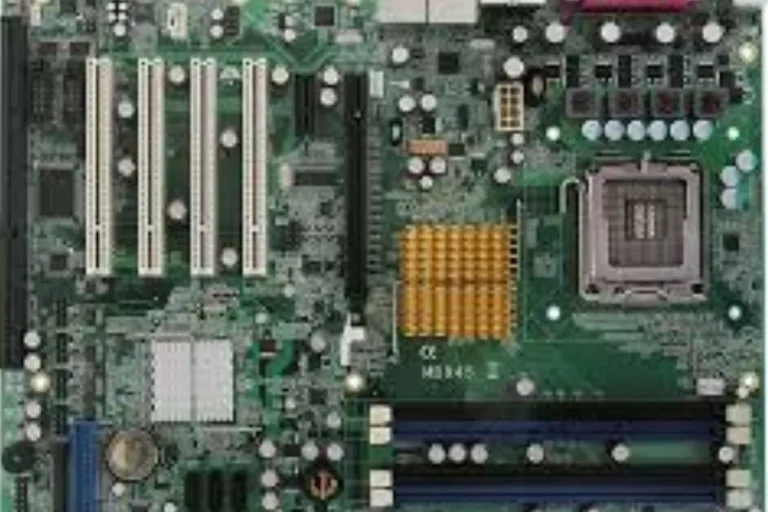
How to Clean a Motherboard?
Is your computer feeling sluggish and underperforming? It might be time to give your motherboard some TLC! In this beginner-friendly guide, we’ll show you how to clean your motherboard like a pro. Say goodbye to dust and debris buildup, and hello to improved performance.
Deep Cleaning Techniques
After removing dust and debris from your motherboard, it’s time to take your cleaning game to the next level. Deep cleaning involves using isopropyl alcohol and a lint-free cloth to ensure a thorough and effective cleanse. Here’s how you can achieve it.
Introducing Isopropyl Alcohol and Lint-free Cloth
- Isopropyl alcohol is a powerful cleaning agent that evaporates quickly, leaving no residue behind. It’s ideal for deep cleaning your motherboard.
- Dampen a lint-free cloth with a small amount of isopropyl alcohol. Make sure the cloth is not dripping wet, as excess liquid can damage the motherboard.
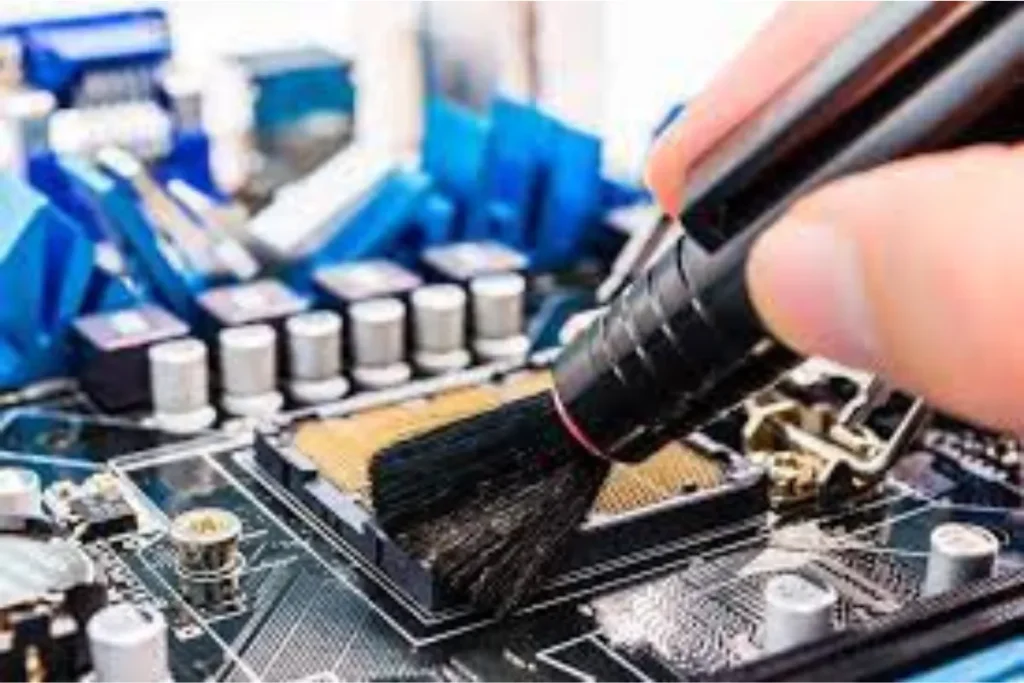
Gently Wiping the Motherboard and Its Components
- Start by wiping the motherboard surface with a damp cloth. Use gentle, circular motions to remove any remaining dirt or stains.
2. Pay close attention to areas that are more prone to residue buildup, such as the CPU socket, RAM slots, and expansion slots. Take your time and be thorough.
Handling Stubborn Stains or Residue
- If you encounter stubborn stains or residue, apply a bit more isopropyl alcohol to the cloth and gently rub the affected area. Avoid excessive pressure to prevent damage.
2. For particularly stubborn stains, you can use a soft-bristled brush, like a clean toothbrush, to gently scrub the area. Be careful not to scratch or damage any delicate components.
Cleaning Specific Components
When it comes to cleaning your computer, it’s essential to pay attention to specific components like the CPU, RAM, and expansion cards. These components play a crucial role in your computer’s performance, and keeping them clean is vital.
Cleaning the CPU
- Before cleaning the CPU, it’s important to consult the manufacturer’s guidelines. Different CPUs may have specific cleaning requirements.
- Start by gently removing the CPU from its socket. Be careful not to damage any pins or connectors.
- Use compressed air or an anti-static brush to remove any dust or debris from the CPU. Be thorough but gentle to avoid causing any damage.
Cleaning the RAM
- Again, refer to the manufacturer’s guidelines for specific cleaning instructions for your RAM modules.
- Gently remove the RAM modules from their slots.
- Use compressed air or an anti-static brush to clean the RAM modules, ensuring that all dust and debris are removed.
Cleaning Expansion Cards
- Just like with the CPU and RAM, consult the manufacturer’s guidelines for cleaning expansion cards.
- Carefully remove the expansion cards from their slots.
- Clean the cards using compressed air or an anti-static brush, paying attention to the connectors and edges.
Reassembling and Testing
Now that you’ve successfully cleaned your computer’s motherboard and components, it’s time to put everything back together. Reassembling your computer requires careful attention to detail to ensure all connections are secure and proper functionality is maintained.
Reassembling the Motherboard and Components
- Begin by placing the motherboard back into the computer case, aligning the screw holes with the standoffs.
- Carefully reattach all cables and connectors, including the power cables, data cables, and any other peripherals.
- Insert the RAM modules back into their slots, ensuring they are seated securely.
- Gently reattach any expansion cards, such as graphics cards or sound cards, making sure they are properly aligned with the slots.
Checklist for Secure Connections
To ensure all connections are secure and nothing is missed during reassembly, use the following checklist:
- Double-check all cable connections, ensuring they are plugged in firmly.
- Verify that all screws holding the motherboard and components are tightened appropriately.
- Confirm that the RAM modules and expansion cards are fully inserted and secured.
Performing a Test Boot
Once you’ve reassembled your computer, it’s crucial to perform a test boot to verify proper functionality. Here’s how you can do it:
- Connect the power cable to your computer and switch on the power supply.
- Press the power button on your computer case and observe if the computer starts up without any issues.
- Pay attention to the startup process, checking if the motherboard, CPU, RAM, and other components are recognized correctly.
If your computer successfully boots up and operates as expected, congratulations! You’ve successfully reassembled and tested your computer after cleaning. If any issues arise during the test boot, double-check all connections and consult troubleshooting resources if necessary.
Frequently asked questions
1. How often should I dust my computer to prevent buildup?
It is recommended to dust your computer on a monthly basis to prevent excessive buildup. Regular dusting helps maintain optimal airflow and prevents overheating.
2. Are dust filters necessary for my computer?
Yes, dust filters are highly recommended. They act as a barrier, preventing dust particles from entering your computer’s components. This helps reduce the amount of dust buildup and extends the lifespan of your hardware.
3. What can I do to keep my computer in a clean environment?
To maintain a clean environment for your computer, avoid placing it on the floor or near dusty areas. Keep it elevated on a desk or shelf, away from carpets, pets, and smokers. Regularly clean the surrounding area to minimize dust accumulation.
4. How often should I inspect my cables and connectors?
It is advisable to inspect your cables and connectors every three to six months. Check for any signs of damage, loose connections, or frayed wires. Addressing these issues promptly can prevent performance issues and potential hardware failures.
5. Can I use compressed air to clean cables and connectors?
It is generally not recommended to use compressed air directly on cables and connectors. Instead, use a soft, lint-free cloth or an anti-static brush to gently clean them.
Conclusion
In conclusion, cleaning your motherboard is a simple yet essential task to maintain the performance and lifespan of your computer. By following the steps outlined in this guide, you can confidently remove dust and debris, ensuring optimal airflow and preventing overheating. Keep your motherboard squeaky clean for a smooth computing experience.