How to connect AirPods to the laptop?
The cords and embrace wireless freedom? Connecting your AirPods to your laptop opens up a world of convenience and untethered audio bliss. The simple steps to seamlessly sync your AirPods with your laptop for an enhanced listening experience.
Checking Compatibility
Before diving into the connection process, it’s essential to ensure compatibility between your laptop and AirPods.
1. Ensure Laptop Compatibility with Bluetooth
First things first, check if your laptop supports Bluetooth connectivity. Most modern laptops come equipped with Bluetooth, but it’s always good to double-check your device settings.
2. Verify AirPods Compatibility with Laptop’s Operating System
Next, ensure that your AirPods are compatible with the operating system running on your laptop. Whether you’re using Windows, macOS, or Linux, make sure your AirPods can sync seamlessly with your laptop’s software.
Activating Bluetooth on Your Laptop
Ready to kickstart the wireless connection process? Bluetooth on your laptop, the crucial first step in pairing your AirPods for a cord-free experience.
1. Accessing Bluetooth Settings
To begin, locate the Bluetooth settings on your laptop. This can usually be found in the system preferences or control panel, depending on your operating system.
2. Turning Bluetooth On
Once you’ve found the Bluetooth settings, it’s time to flip the switch and turn Bluetooth on. Simply toggle the Bluetooth option to the “on” position to enable wireless connectivity.
Pairing AirPods with Your Laptop
Ready to cut the cord and embrace wireless freedom? The simple steps of pairing your AirPods with your laptop for an uninterrupted audio experience.
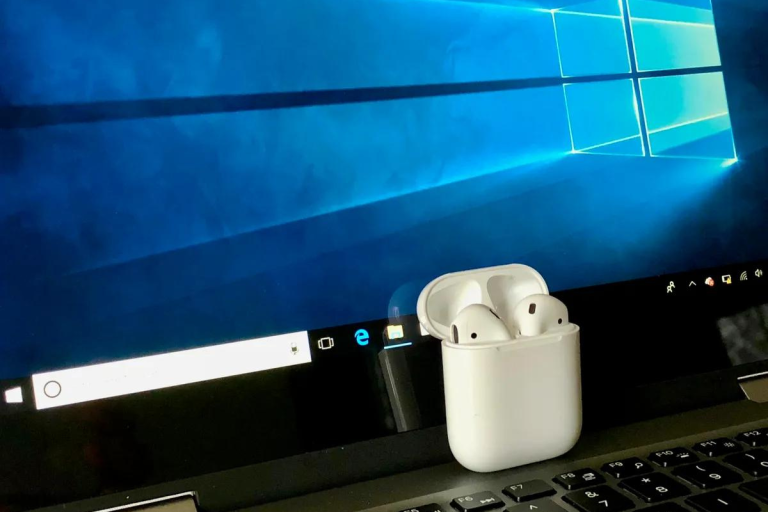
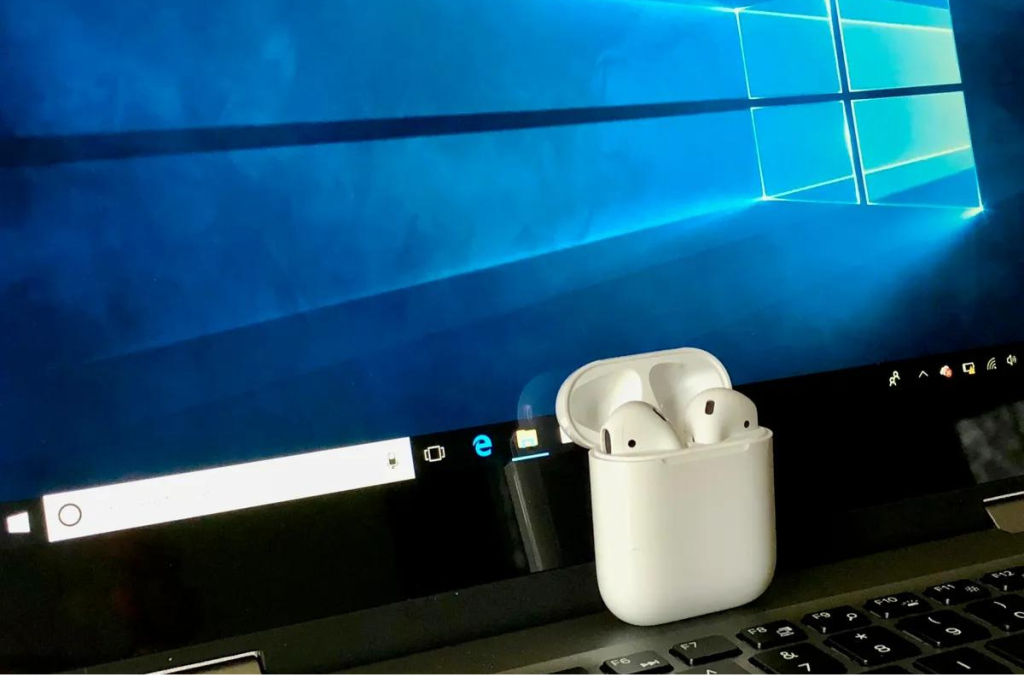
1. Opening AirPods Case Near Laptop
Start by opening the lid of your AirPods case near your laptop. This action activates the pairing mode, allowing your AirPods to be discoverable by nearby devices.
2. Pressing and Holding the Setup Button on AirPods Case
Next, press and hold the setup button on the back of the AirPods case. Keep holding it until the status light on the case starts blinking white, indicating that your AirPods are ready to pair.
Testing Connection
Before diving into your favorite playlist, let’s ensure that your AirPods are successfully connected to your laptop. Follow these simple steps to confirm a seamless audio experience.
1. Playing Audio to Confirm a Successful Connection
Start by playing a piece of audio, such as a song or video, on your laptop. If you hear the sound coming through your AirPods, congratulations! Your connection is successful.
2. Adjusting Volume and Settings as Needed
Once the audio is playing through your AirPods, adjust the volume to your desired level using the volume controls on your laptop or directly on the AirPods themselves. Additionally, you can customize audio settings in your laptop’s sound preferences.
Frequently Asked Questions
1. What should I do if my AirPods aren’t connecting to my laptop?
First, ensure Bluetooth is enabled on both devices. Then, try restarting your devices and re-pairing your AirPods.
2. Why do my AirPods keep disconnecting from my laptop?
Interference, low battery, or outdated software may cause frequent disconnections. Try moving closer to your laptop and updating the device software.
3. How do I re-pair my AirPods with my laptop?
Open Bluetooth settings on your laptop, forget your AirPods and then repeat the pairing process outlined in the setup instructions.
4. Will re-pairing my AirPods delete saved device connections?
No, re-pairing your AirPods only clears the current connection. Your device history remains intact for easy reconnection.
Conclusion
Voila! You’ve mastered the art of connecting AirPods to your laptop, unlocking a world of wireless audio convenience. Say goodbye to tangled cords and hello to seamless listening.