How to disconnect a laptop from the deskpot?
Shifting to a new workspace or just needing to take your laptop on the go, we’ve got you covered. We’ll walk you through disconnecting your laptop step-by-step, making the process quick and easy.
Preparing for Disconnection
you unplug your laptop from your desktop setup, a bit of preparation ensures everything goes smoothly. This step is crucial to avoid any data loss or device damage.
Save and Close Open Applications
The important files because you forgot to hit ‘Save’ is frustrating. All your open documents, spreadsheets, or projects and save your progress. It only takes a few seconds, but it can save you hours of redoing lost work. Once you’ve saved everything, close your open applications.
Leaving programs running can cause data loss or system errors when you disconnect. Closing them also reduces the load on your computer, making it easier to unplug. Think of it like shutting off the lights before leaving a room.
Safely Eject External Devices
We have time to safely eject any external devices. This includes USB drives, external hard drives, and memory cards. Yanking them out without ejecting them properly can corrupt files or lose data. Follow these steps to safely remove them:
- Locate the Safely Remove Hardware icon: This icon, which looks like a USB drive with a check mark, is usually in the bottom right corner of your screen.
- Click the icon: When you click on it, a list of connected devices will appear.
- Choose the device to eject: Click on the device you want to remove. A message will pop up saying it’s safe to remove.
- Unplug the device: Once you see the ‘safe to remove’ message, you can unplug the device without any worries.
Disconnecting Cables and Peripherals
Once you’ve prepared your laptop for disconnection, it’s time to unplug all those cables and peripherals. Doing this carefully is key to avoiding any damage to your equipment or data.
Disconnecting Display Connections
Whether you’re using HDMI, DisplayPort, or VGA, the steps are pretty straightforward.
- Power off the monitor: It’s a good idea to turn off your monitor before unplugging any cables. This helps prevent any sudden electrical surges.
- Locate the display cable: Find the cable connecting your monitor to your laptop. It could be HDMI, DisplayPort, or VGA. Each type has a unique shape and connection point.
- Gently unplug the cable: Hold the connector, not the cable, and pull it out gently from your laptop’s port. Yanking on the cable itself can damage both the cable and the port.
- Store the cable neatly: Coil the cable and store it neatly to avoid any tangles or damage for future use.
By disconnecting your display connections carefully, you ensure that both your laptop and monitor remain in good shape.
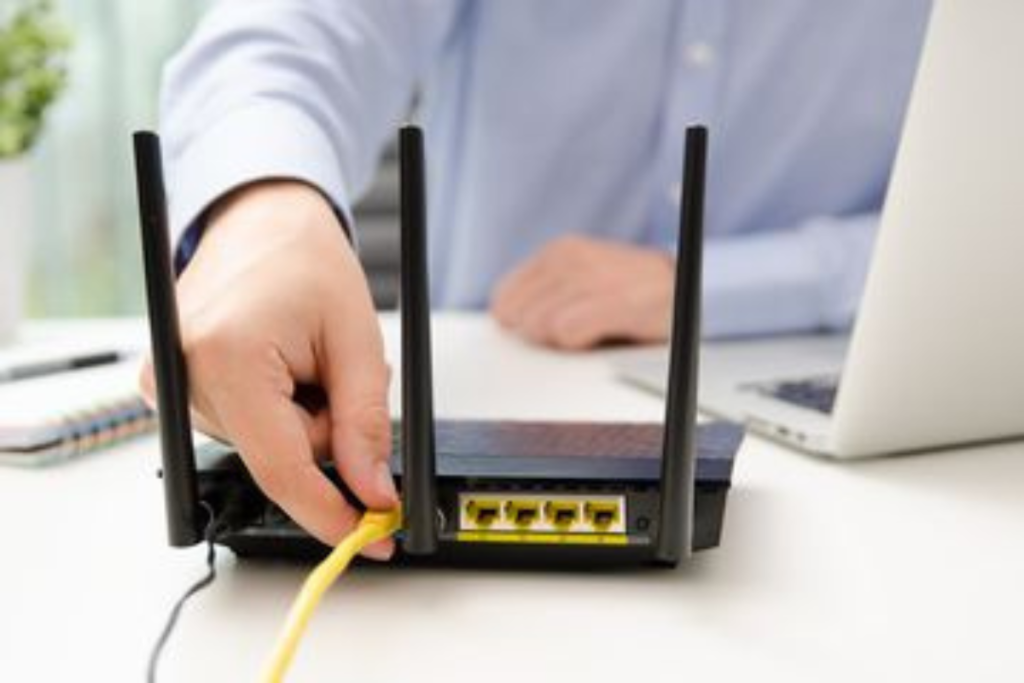
Removing USB and Other Peripheral Connections
The move on to safely remove your USB devices, external keyboards, mice, and other peripherals.
- Identify all connected peripherals: Look for USB devices like flash drives, external hard drives, keyboards, and mice connected to your laptop.
- Eject USB devices: For USB storage devices, right-click on the device icon on your computer and select ‘Eject.’ Wait for the notification that it’s safe to remove, then unplug it.
- Unplug other peripherals: For non-storage peripherals like keyboards and mice, you can simply unplug them from the USB port without additional steps.
- Wrap and store the cables: Coil up the cables of your peripherals to keep them organized and avoid damage.
Managing Wireless Connections
The time to disconnect your laptop from a desktop setup, and managing wireless connections is key to ensuring a seamless transition.
Turning Off Bluetooth Devices
To disconnect Bluetooth peripherals from your laptop, follow these simple steps:
- Access Bluetooth Settings: Click on the Bluetooth icon in your system tray or go to Settings.
- Review Connected Devices: Open Bluetooth settings and review the list of connected devices.
- Disconnect Peripherals: Select the device you want to disconnect and click on ‘Disconnect’ or ‘Remove Device’.
- Turn Off Bluetooth: Optionally, toggle the Bluetooth switch off to disconnect all connected devices at once.
Disabling Wi-Fi Sharing
To stop Wi-Fi sharing and other network connections on your laptop:
- Navigate to Settings: Go to Settings and select ‘Network & Internet’.
- Disable Wi-Fi Sharing: Find the Mobile hotspot or Wi-Fi sharing option and toggle the switch to turn it off.
- Manage Network Connections: Review other network settings to ensure no other sharing features are enabled.
- Disconnect from Networks: If needed, disconnect from any Wi-Fi networks your laptop might still be connected to.
Adjusting Software Settings
After disconnecting your laptop from your desktop setup, it’s important to reset your software settings. This ensures your laptop functions perfectly on its own.
Switching Back to Laptop Display
your laptop was connected to an external monitor, it might have been set to use that screen.
- Open Display Settings: Right-click on your desktop and select ‘Display settings’ from the menu.
- Find the display arrangement: You’ll see a diagram showing how your displays are arranged. Look for the display that represents your laptop screen.
- Set laptop screen as the main display: Click on the box that represents your laptop screen, then check the box that says ‘Make this my main display.’
- Apply changes: Click ‘Apply’ to save the changes. Your laptop should now use its own screen as the primary display.
- Disconnect the external monitor if needed: If you still see part of your screen on the external monitor, unplug it completely to force your laptop to switch back.
Reconfiguring Audio Output
We connected to a desktop setup, your laptop might have been using external speakers or headphones.
- Open Sound Settings: Click on the speaker icon in the bottom right corner of your screen and select ‘Open Sound Settings.’
- Choose the output device: In the Sound settings window, look for the ‘Output’ section. There will be a dropdown menu with a list of available audio devices.
- Select the laptop’s speakers: From the dropdown menu, choose the option that corresponds to your laptop’s built-in speakers. It might be labeled as ‘Internal Speakers’ or ‘Realtek Audio.’
- Test the sound: Play some audio to make sure it’s coming through the laptop’s speakers. If it’s working, you’re all set!
- Adjust volume as needed: Use the volume controls to set the audio to a comfortable level.
Frequently Asked Questions
1. What is HDMI and how is it used to connect a laptop to a desktop setup?
Connect one end of the HDMI cable to your laptop’s HDMI port. Connect the other end to the HDMI input on your monitor or TV. Your laptop’s display should now extend or mirror onto the external monitor or TV.
2. How do I use USB connections to link my laptop with peripherals in a desktop setup?
Plug the USB cable from your peripheral (keyboard, mouse, external drive) into your laptop’s USB port. Your laptop should automatically recognize and install the necessary drivers for the connected device.
3. What is Thunderbolt and how does it differ from USB for laptop connections?
Connect Thunderbolt cables to your laptop’s Thunderbolt port. It supports faster data transfer rates than USB, making it ideal for high-performance devices like external storage drives or monitors. Thunderbolt ports are also compatible with USB-C devices, offering versatility in connecting various peripherals and accessories.
4. How can I connect devices wirelessly to my laptop using Bluetooth?
Turn on Bluetooth on your laptop through Settings or the system tray. Put your Bluetooth device in pairing mode. Select the device from the list of available Bluetooth devices on your laptop. Once paired, your laptop and Bluetooth device can communicate wirelessly within a certain range.
5. How do I identify all peripherals currently connected to my laptop in a desktop setup?
Right-click on the Windows Start button and select ‘Device Manager’. Expand categories like ‘Monitors’, ‘Keyboards’, ‘Mice and other pointing devices’, and ‘Disk drives’ to view connected peripherals. Alternatively, go to Settings > Devices > Bluetooth & other devices to see connected Bluetooth devices.
Conclusion
your laptop from a desktop setup is about ensuring smooth transitions and maintaining device longevity. These straightforward steps, not only protect your data but also optimize your laptop’s portability and performance. your work, safely unplug cables and manage wireless connections effectively. This process not only simplifies your workspace but also enhances your overall computing experience.
