how to install an SSD on a desktop PC?
Are you tired of your slow desktop PC? Upgrade its performance in a breeze by installing an SSD! In this easy-to-follow guide, we’ll show you step-by-step how to install an SSD on your desktop PC. Say goodbye to sluggish boot times and hello to lightning-fast speed.
Preparing for Installation
Before diving into the exciting process of installing an SSD on your desktop PC, it’s crucial to take a few preparatory steps. By following these guidelines, you’ll ensure a smooth and hassle-free experience.
Backing Up Your Data
Backing up your data is of utmost importance before installing an SSD. This ensures that you don’t risk losing any important files during the installation process. Consider creating a backup on an external hard drive, cloud storage, or using reliable backup software. By doing so, you can have peace of mind knowing that your valuable data is safe and secure.
Equipping Yourself for Success
To install an SSD on your desktop PC, you’ll need a few essential tools. Here’s a handy checklist to ensure you have everything you need:
- Screwdriver (typically Phillips or Torx, depending on your PC’s case)
- SATA cables (for connecting the SSD to the motherboard)
- Power cable (to provide power to the SSD)
- Anti-static wrist strap (to prevent any static electricity damage)
Having these tools readily available will make the installation process much smoother and quicker. Double-check your supplies before proceeding to avoid any unnecessary delays.
Tailoring to Your PC’s Specifications
It’s crucial to select the right SSD for your PC based on its specifications. Consider factors such as storage capacity, form factor, and interface compatibility. Determine whether your PC supports SATA or NVMe SSDs and choose accordingly.
Research the available options and ensure compatibility with your motherboard and operating system. This way, you’ll maximize the performance benefits of your new SSD.
Shutting Down and Opening the PC Case
Before you can begin installing an SSD on your desktop PC, it’s essential to shut down your computer properly and open the PC case safely. By following these steps, you’ll ensure a smooth and secure installation process.
Protecting Your Hardware
Before opening your PC case, it’s crucial to shut down your computer properly. This ensures that all processes are safely terminated, preventing any potential data loss or damage to your hardware.
Save your work, close all applications, and click on the “Start” menu. From there, select “Shut Down” and wait for your computer to power off completely. Taking this precautionary step will protect your system and facilitate a successful installation.
Opening the PC Case: Safety First
To install an SSD, you’ll need to open your PC case. Follow these detailed instructions to do so safely:
- Unplug your computer: Before anything else, disconnect the power cable from your PC. This eliminates the risk of electric shock while working on the internal components.
- Ground yourself: To prevent any static electricity damage, touch a grounded metal object such as a doorknob or use an anti-static wrist strap. This ensures that any built-up static electricity is safely discharged from your body.
- Remove the screws: Locate the screws securing the PC case and use a screwdriver to remove them. The number and position of screws may vary depending on your PC’s model. Keep the screws in a safe place for reassembly later.
- Slide off the side panel: Gently slide off the side panel of the PC case, exposing the internal components. Be cautious not to force or apply excessive pressure, as this may damage the case or other components.
Identifying the Appropriate Drive Bay
To successfully install your SSD on your desktop PC, it’s crucial to identify the appropriate drive bay. This will ensure that your SSD is securely installed and compatible with your system. Let’s explore how to locate the right drive bay and understand the different types available.
Locating the Suitable Drive Bay
To find the appropriate drive bay for your SSD, you’ll need to locate the area inside your PC case designed for storage devices. Follow these steps to identify the right spot:
- Examine your PC case: Look for any removable panels or cages that house the existing storage drives. These are typically located towards the front or bottom of the case.
- Check the motherboard: Locate the SATA ports on your motherboard. These ports are used to connect storage devices, including your SSD. The drive bay should be near these ports.
- Consider the form factor: Depending on the size of your SSD, you may need to look for specific drive bay sizes. Common SSD form factors include 2.5-inch and M.2 drives. Make sure the drive bay can accommodate your chosen form factor.
Types of Drive Bays
Different types of drive bays exist, and it’s important to understand their compatibility with SSDs:
- 3.5-inch drive bays: Commonly found in older PC cases, these bays are designed for traditional hard disk drives (HDDs) and are not compatible with most SSDs. Adapters or brackets may be needed to install an SSD in a 3.5-inch bay.
- 2.5-inch drive bays: These bays are specifically designed for SSDs, making installation straightforward. If your PC case has dedicated 2.5-inch bays, you can easily secure your SSD without the need for additional adapters or brackets.
- M.2 slots: Some modern motherboards come with M.2 slots, which allow for direct installation of M.2 SSDs. These slots provide a compact and convenient solution for SSD installation, without the need for drive bays.
Connecting the SSD
Now that you have identified the appropriate drive bay for your SSD, it’s time to connect it to your motherboard and secure it in place. In this guide, we will walk you through the process of connecting the SSD using SATA cables and securing it in the drive bay.
Connecting the SSD to the Motherboard
To connect your SSD to the motherboard, you will need SATA cables. Follow these steps to ensure a proper connection:
- Locate the SATA ports on your motherboard: These ports are usually labeled and can be found near the drive bays. Take note of the available ports.
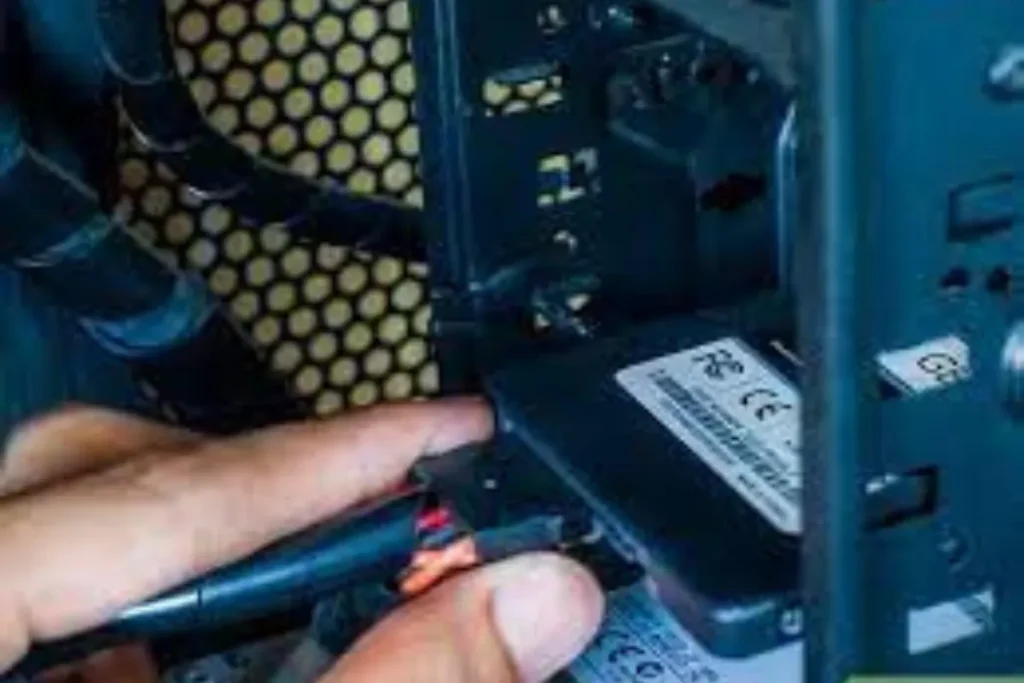
- Connect the SATA cable to the SSD: Take one end of the SATA cable and connect it firmly to the SATA port on your SSD. Ensure a secure connection by aligning the notches on the cable and the port.
- Connect the other end of the SATA cable to the motherboard: Take the other end of the SATA cable and connect it to an available SATA port on your motherboard. Again, align the notches and push the cable in until it is securely in place.
Securing the SSD in the Drive Bay
Once your SSD is connected, it’s important to secure it properly in the drive bay to prevent any movement or damage. Follow these steps to secure your SSD:
- Place the SSD in the drive bay: Gently slide your SSD into the appropriate drive bay. Ensure that it is aligned with the screw holes in the bay.
- Use screws to secure the SSD: Locate the screws that came with your PC case or SSD mounting brackets. Use a screwdriver to secure the SSD in place by tightening the screws into the screw holes on the bay.
- Double-check the connection: Ensure that the SATA cable is still securely connected to both the SSD and the motherboard. Give it a gentle tug to make sure it doesn’t come loose.
Frequently Asked Questions
1. What is the process of installing the operating system on the SSD?
To install the operating system on the SSD, you need to boot your computer from a bootable USB drive or installation media. Then, follow the on-screen prompts to select the SSD as the installation destination and proceed with the installation process.
2. Why is it important to create a bootable USB drive or use installation media?
Creating a bootable USB drive or using installation media is important because it allows you to start the installation process and install the operating system on your SSD. It provides a way for your computer to recognize and access the necessary files for the installation.
3. How do I create a bootable USB drive for installing the operating system?
To create a bootable USB drive, you can use various software tools available online. These tools allow you to format the USB drive, copy the necessary operating system files onto it, and make it bootable.
4. Can I use installation media instead of a bootable USB drive?
Yes, you can use installation media such as DVDs or CDs instead of a bootable USB drive. The process is similar, but instead of creating a bootable USB drive, you will need to burn the installation files onto the media using appropriate software.
5. Can I install the operating system on the SSD without formatting it?
It is recommended to format the SSD before installing the operating system. Formatting ensures that the SSD is clean and ready to receive the new operating system.
Conclusion
In conclusion, installing an SSD on your desktop PC is a straightforward process that can greatly enhance your computer’s performance. By following the steps outlined in this guide, you can easily connect the SSD to your motherboard, secure it in the drive bay, and ensure a proper power connection. Upgrade your PC with an SSD and experience faster boot times and improved overall responsiveness.