Is it possible to upgrade a laptop motherboard?
Is it possible to upgrade a laptop motherboard? Absolutely! If you’ve ever wondered about boosting your laptop’s performance or expanding its capabilities, upgrading the motherboard can be a game-changer. In this article, we’ll explore the ins and outs of laptop motherboard upgrades, debunk some myths, and guide you through the process, all without confusing technical jargon.
Factors to Consider Before Upgrading
Upgrading a laptop motherboard can bring significant improvements to your device, but before you dive into the process, there are a few crucial factors to consider. Ensuring compatibility with your laptop model and motherboard sizes is essential to avoid any frustrating roadblocks along the way.
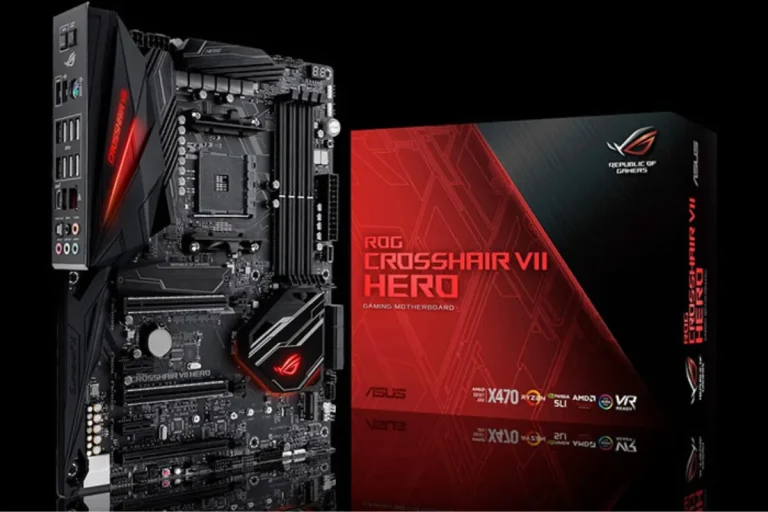
Laptop Models and Motherboard Sizes
Each laptop model has a specific form factor and size, and not all laptops are designed to accommodate motherboard upgrades.
It’s important to research whether your laptop model supports motherboard replacements and whether compatible motherboards are available. Check the manufacturer’s website or consult with a professional to ensure compatibility.
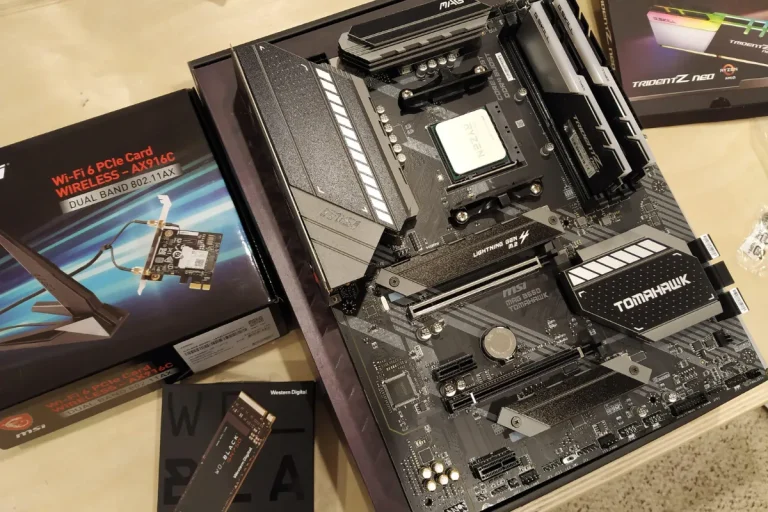
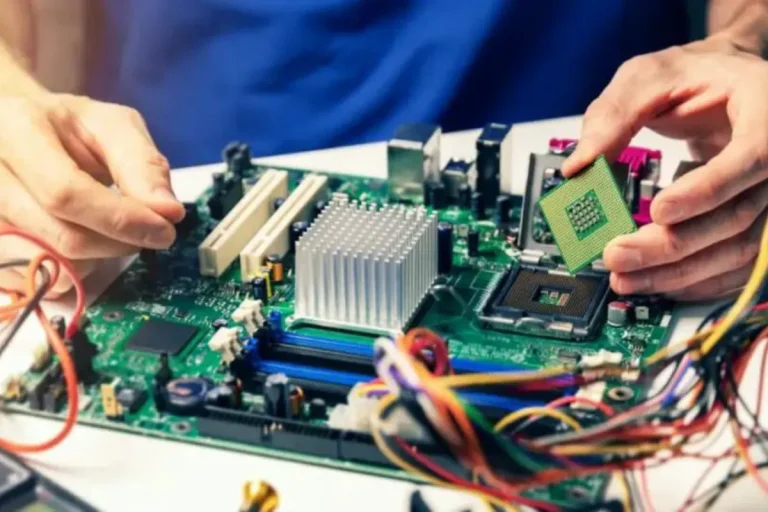
Processor and Socket Compatibility
The processor is the brain of your laptop, and it needs to be compatible with the new motherboard. Different processors use different sockets that physically connect the CPU to the motherboard. Ensure that the new motherboard supports your processor’s socket type to avoid any compatibility issues.
RAM and Storage Compatibility
Upgrading the motherboard may also require upgrading your laptop’s RAM and storage. Check the maximum RAM capacity and supported RAM speed of the new motherboard. Additionally, verify the types of storage drives (such as SSD or HDD) the motherboard supports. Ensuring compatibility will allow for a smooth upgrade process.
Benefits and Limitations of Upgrading
Upgrading a laptop motherboard can bring exciting benefits to your device, but it’s important to be aware of the limitations and challenges that may arise.
Advantages of Upgrading a Laptop Motherboard
- Improved Performance: Upgrading the motherboard allows for better compatibility with modern processors, faster RAM, and enhanced storage options, resulting in improved overall performance.
- Expanded Features: Upgrading the motherboard can unlock additional features and functionalities that were not available with the original motherboard, such as more USB ports, better audio capabilities, or even support for newer technologies like Thunderbolt.
- Future-proofing: Upgrading the motherboard ensures compatibility with newer components and technologies, extending the lifespan of your laptop and allowing for future upgrades without the need for a complete system overhaul.
Challenges of Upgrading a Laptop Motherboard
- Compatibility Constraints: Laptop models often have specific form factors, making it challenging to find compatible motherboards that fit properly. This can limit your options and potentially increase the cost of the upgrade.
- Complexity: Upgrading a laptop motherboard requires technical expertise and careful handling of delicate components. It may involve disassembling the entire laptop and reconnecting various components, which can be daunting for inexperienced users.
- Warranty Voiding: In most cases, upgrading the motherboard voids the laptop’s warranty. It’s essential to consider this trade-off before proceeding with the upgrade.
Steps to Upgrade a Laptop Motherboard
Upgrading a laptop motherboard can breathe new life into your device, allowing for improved performance and expanded capabilities. If you’re up for the challenge, here’s a step-by-step guide on how to upgrade a laptop motherboard.
Preparing the Laptop for the Upgrade
Before diving into the upgrade process, it’s essential to prepare your laptop:
- Back up Your Data: Create a backup of all your important files to ensure they are safe and can be easily restored after the upgrade.
- Gather Necessary Tools: Collect the necessary tools such as screwdrivers, anti-static wristbands, and any other equipment mentioned in the laptop and motherboard manuals.
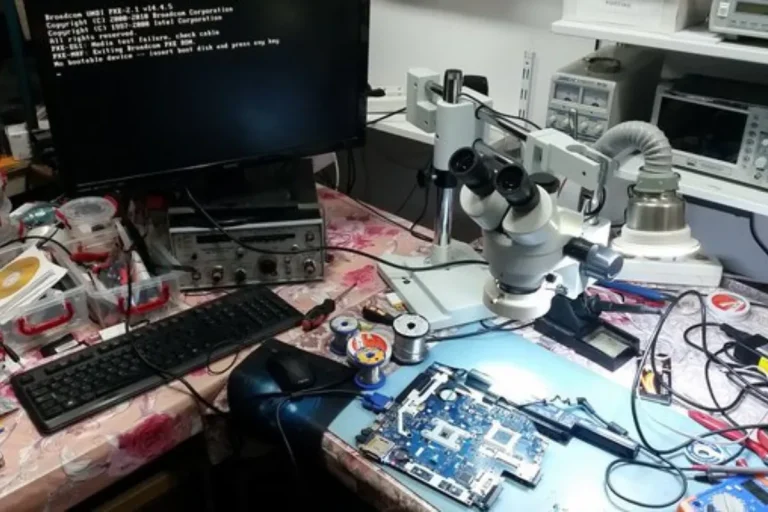
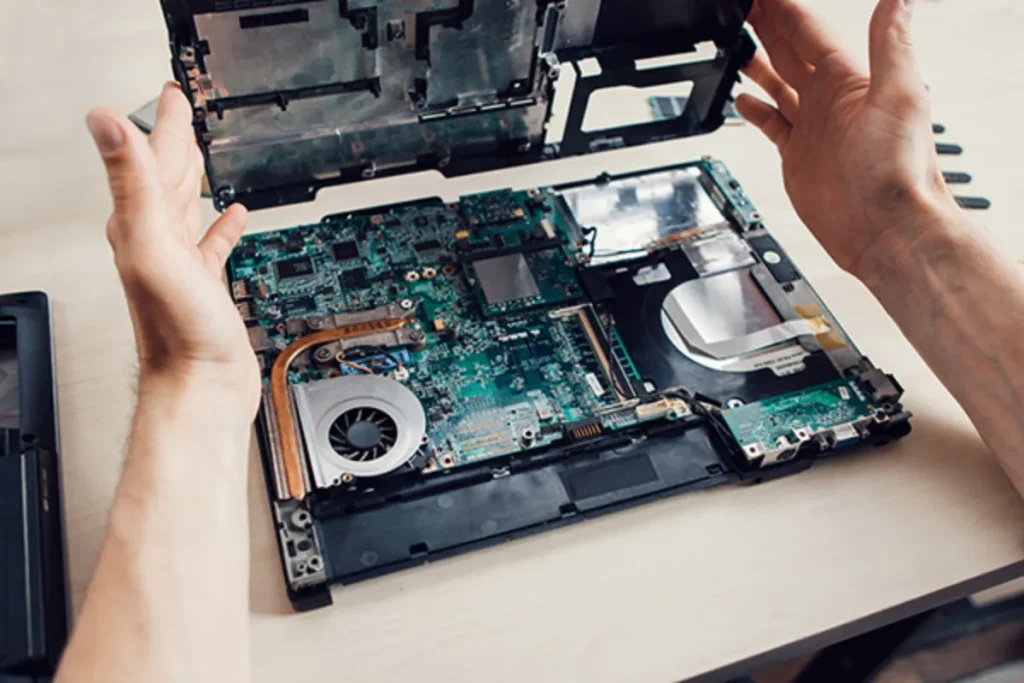
Removing the Old Motherboard
Now, let’s move on to removing the old motherboard:
- Power Down and Disconnect: Power off the laptop and unplug it from the power source. Remove the battery as well.
- Disassemble the Laptop: Carefully disassemble the laptop, following the manufacturer’s instructions and taking note of the locations of screws and connectors.
- Detach Components: Disconnect all components attached to the old motherboard, including the CPU, RAM, storage devices, and any other peripherals.
Connecting Components and Peripherals
Once the new motherboard is in place, it’s time to connect the components and peripherals:
- Reassemble the Laptop: Put the laptop back together by reattaching the keyboard, screen, and any other parts that were removed during disassembly.
- Power On and Test: Reconnect the power source, insert the battery, and power on the laptop. Test its functionality to ensure that everything is working correctly.
FAQs
1. Should I hire a professional or do a DIY upgrade?
It depends on your comfort level and expertise. Hiring a professional ensures expertise and reduces the risk of mistakes, but DIY upgrades can be cost-effective if you have the necessary skills.
2. What are the advantages of hiring a professional for the upgrade?
Professionals have the expertise, experience, and tools required for a successful upgrade. They can save you time, minimize risks, and ensure a seamless process.
3. What are the benefits of a DIY upgrade?
DIY upgrades allow for customization, cost savings, and a sense of accomplishment. You have control over the specific components used and can tailor the upgrade to your specific needs.
4. What are the safety precautions for a DIY upgrade?
Use an anti-static wristband and mat to prevent static damage. Read manuals, organize components, and work in a well-lit area. Handle components with care and follow best practices to avoid accidental damage.
5. Can I revert back to the original state if I encounter issues during a DIY upgrade?
Yes, it’s recommended to create a system restore point and back up your important files before starting the upgrade. This allows you to revert to the previous state if any issues arise.
Conclusion
Upgrading a laptop motherboard is indeed possible, but it requires careful consideration and technical skills. Whether you choose to hire a professional or take the DIY route, it’s important to prioritize safety, follow step-by-step guides, and weigh the pros and cons. So, go ahead and explore the possibilities, but always remember to proceed with caution and seek help if needed