Is replacing a motherboard hard to do and install?
Replacing a motherboard in your computer might sound intimidating, but fear not! In this article, we’ll break down the process into simple steps that even a 7th grader can understand. Whether you’re upgrading your hardware or fixing a faulty motherboard, we’ve got you covered.
Reasons for Replacing a Motherboard
There are various circumstances that may require you to replace your motherboard. Understanding these common scenarios will help you determine if it’s time for a motherboard replacement.
Hardware Upgrades One common reason
Replacing a motherboard is to accommodate hardware upgrades. As technology advances, you may find that your current motherboard is unable to support the latest components or features. Upgrading your CPU, RAM, or graphics card may require a motherboard that can handle the increased power or compatibility.
Compatibility Issues Compatibility problems
This can arise when your existing motherboard is not compatible with certain hardware or software. This can occur when you want to install a new processor that requires a different socket type or when you need to use specific peripherals that are not supported by your current motherboard.
In such cases, replacing the motherboard becomes necessary to ensure everything works seamlessly together.
Damage or malfunctioning motherboard
like any other electronic component, can suffer from damage or malfunction over time. Power surges, physical accidents, or manufacturing defects can all lead to a faulty motherboard.
If you experience frequent system crashes, random restarts, or if your computer fails to power on, it could be a sign of a malfunctioning motherboard. Replacing it might be the solution to restore your computer’s functionality.
Preparing for Motherboard Replacement
Before diving into the process of replacing a motherboard, it’s crucial to be well-prepared. In this section, we’ll provide you with a step-by-step guide on gathering the necessary tools and equipment. Additionally, we’ll highlight the importance of backing up your data and preparing for potential complications.
Gathering the Necessary
Tools and Equipment To successfully replace a motherboard, you’ll need a few essential tools and equipment. These include a screwdriver set, thermal paste, an anti-static wrist strap, and a clean workspace. By having these items readily available, you can ensure a smooth and efficient replacement process.
Backing Up Your Data Before Proceeding
The motherboard replacement, it’s crucial to back up all your important data. This includes documents, photos, videos, and any other files you don’t want to lose.
While replacing the motherboard itself shouldn’t affect your data, it’s always better to be safe than sorry. Use an external hard drive, cloud storage, or any other backup method that suits your needs.
Preparing for Potential Complications
While replacing a motherboard is generally straightforward, complications can sometimes arise. It’s essential to be prepared for any unexpected issues that may occur during the process.
Make sure you have a plan in place for troubleshooting common problems, such as loose connections, BIOS settings, or driver installations. Being mentally prepared and having resources on hand can help you overcome any hurdles that come your way.
Removing the Old Motherboard
Now that you’re well-prepared for the motherboard replacement, it’s time to remove the old motherboard. In this section, we’ll guide you through the process of safely removing the existing motherboard. We’ll also provide tips on handling delicate components and disconnecting cables.
Power Down and Disconnect
Before you begin, ensure your computer is powered off and unplugged from the electrical outlet. This will prevent any electrical mishaps during the removal process.
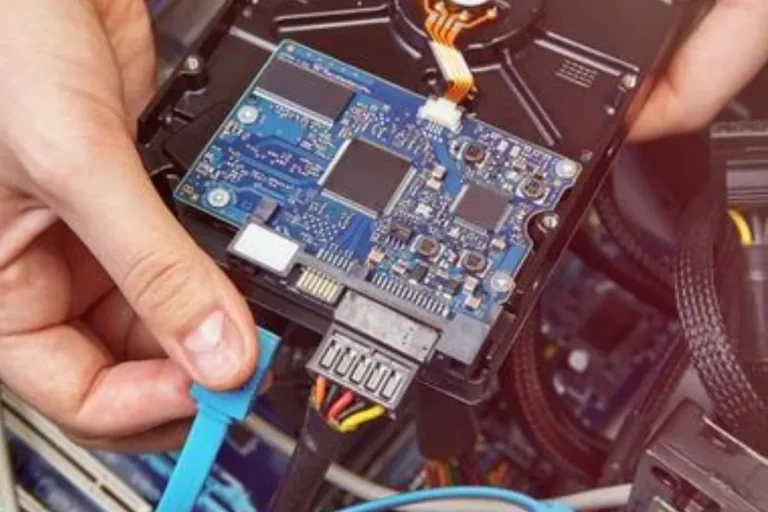
Next, carefully disconnect all cables connected to the motherboard, including the power supply cables, data cables, and front panel connectors. Take note of their positions or use labels if necessary to simplify the reconnection later.
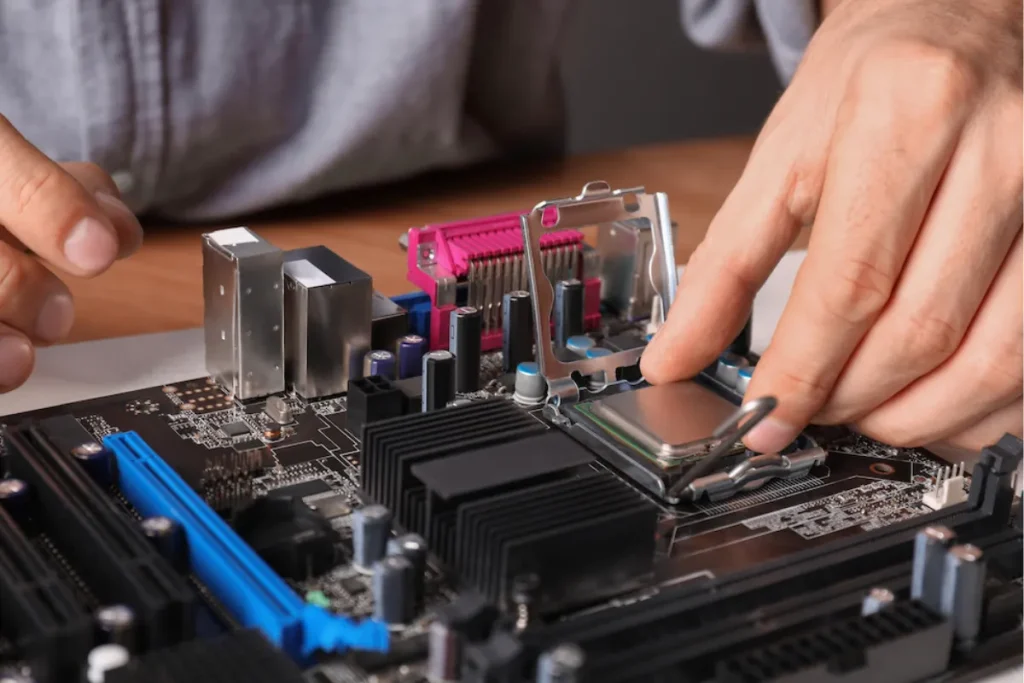
Remove Components To access
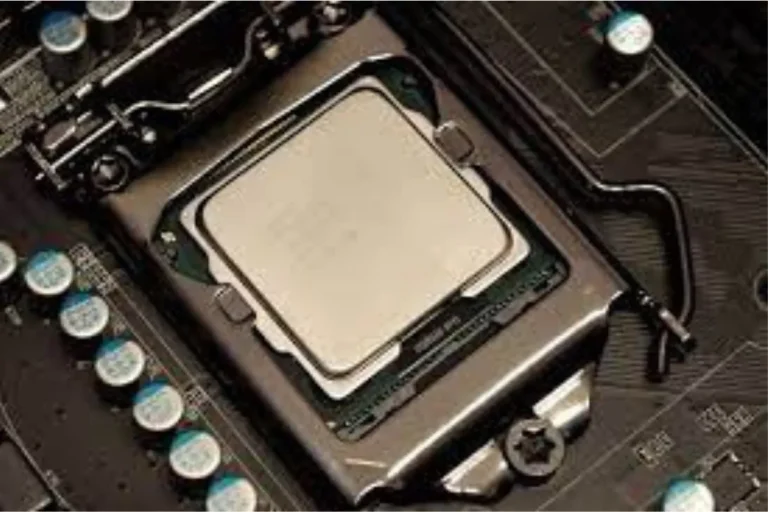
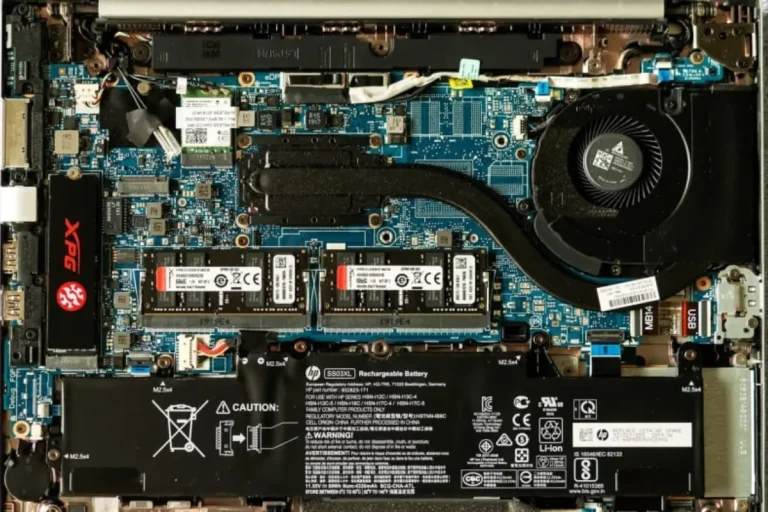
For the motherboard, you may need to remove certain components such as the CPU cooler, RAM modules, and expansion cards.
Follow the manufacturer’s instructions or consult online resources for your specific computer model to safely remove these components. Take extra care when handling delicate parts, avoiding excessive force or bending.
Unscrew and Remove the Motherboard
Using your screwdriver, carefully unscrew the screws securing the motherboard to the case. Keep track of the screws and set them aside for later use. Once all screws are removed, gently lift the motherboard out of the case, ensuring no cables or components are still attached.
Be mindful of any delicate connectors and gently disconnect them, if necessary.
Frequently Asked Questions
1. My computer doesn’t boot up after replacing the motherboard. What could be the issue?
This could be due to incompatible hardware or incorrect connections. Double-check that all cables and components are properly connected, and ensure that the new motherboard is compatible with your CPU and RAM. If the issue persists, consult the motherboard manual or seek professional assistance.
2. Why is my computer running slower after installing the new motherboard?
Slow performance could be caused by outdated or incompatible drivers. Make sure you have installed the latest drivers specific to your new motherboard. Additionally, check your BIOS settings for any necessary adjustments, such as enabling XMP for RAM or adjusting power settings.
3. I accidentally damaged a component while replacing the motherboard. What should I do?
If a component is damaged during the replacement process, it may need to be replaced. Evaluate the extent of the damage and consider seeking professional help if necessary. Take extra care when handling delicate components to avoid accidental damage in the future.
4. My computer keeps restarting randomly after installing the new motherboard. How can I fix this?
Random restarts could indicate hardware or software issues. Ensure that all cables and components are securely connected. Check for any loose screws or connections. Additionally, update your BIOS and drivers to the latest versions, as outdated firmware can sometimes cause instability.
5. I’m experiencing compatibility issues with my existing peripherals after installing the new motherboard. How can I resolve this?
Compatibility issues can arise when the new motherboard’s drivers are not properly installed. Visit the manufacturer’s website and download the latest drivers for your motherboard.
Conclusion
Replacing a motherboard can be a challenging task, but with the right guidance and precautions, it is definitely doable. By following step-by-step instructions, ensuring compatibility, and seeking professional help when needed, you can successfully install a new motherboard and enjoy an upgraded computing experience.