Where do I plug in USB 3.0 on a motherboard?
Are you puzzled about where to plug in your USB 3.0 on your motherboard? No worries! We’re here to help. In this guide, we’ll walk you through the process of locating and connecting your USB 3.0 ports. It’s easier than you think.
Motherboard Components
When it comes to understanding how a computer works, it’s essential to have a grasp of the basic components of a motherboard. These components play a crucial role in the overall functionality of your system. In this section, we’ll take a closer look at some key components you’ll find on a typical motherboard.
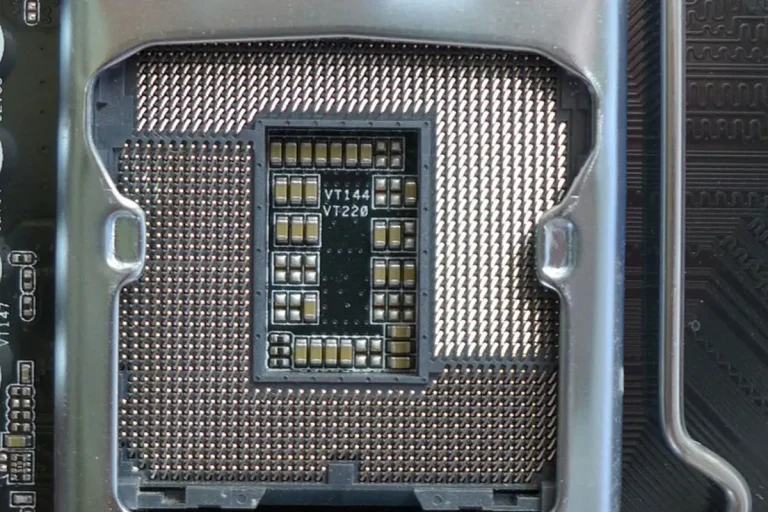
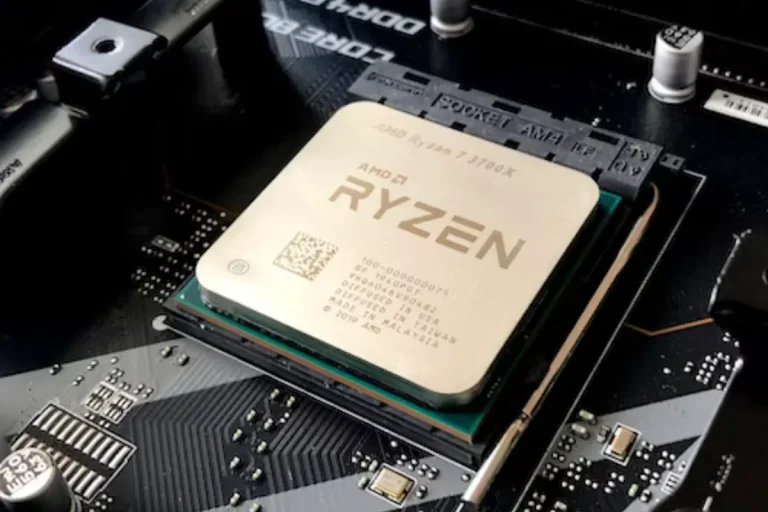
1. CPU Socket: The CPU socket, also known as the CPU slot, is where the central processing unit (CPU) is installed. It connects the CPU to the rest of the motherboard and allows for data transfer and communication.
2. RAM Slots: Random Access Memory (RAM) slots are where you install memory modules to provide temporary storage for data that the CPU needs to access quickly. These slots allow you to increase your system’s memory capacity for better performance.
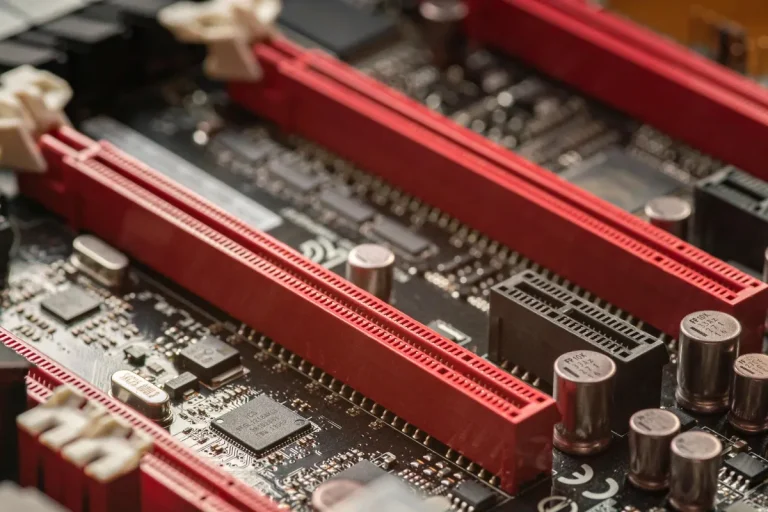
3. Expansion Slots: Expansion slots are used to connect additional hardware components to your motherboard, such as graphics cards, sound cards, or network cards. These slots allow you to customize and upgrade your system based on your specific needs.
4. Power Connectors: Power connectors on the motherboard ensure that the necessary power is supplied to all the components. The main power connector, typically a 24-pin or 20-pin connector, provides power to the motherboard, while auxiliary power connectors provide additional power to components like the CPU.
5. SATA and M.2 Connectors: SATA connectors are used to connect storage devices such as hard drives and solid-state drives (SSDs). M.2 connectors, on the other hand, provide a high-speed interface for connecting SSDs, offering faster data transfer rates.
Identifying USB 3.0 Ports
When it comes to finding USB 3.0 ports on your motherboard, it’s crucial to know what to look for. Don’t worry, we’ve got you covered! In this section, we’ll explain the physical appearance of USB 3.0 ports and provide helpful visuals to make identification a breeze.
USB 3.0 ports on motherboards often stand out with their distinct blue color. Unlike the traditional USB ports, which are usually black or white, USB 3.0 ports are easily recognizable due to their vibrant blue hue. This color coding is intentionally designed to make it easier for users to differentiate between USB 3.0 and older USB versions.
But that’s not all! Another identifier you may notice on USB 3.0 ports is the “SS” symbol. This stands for “SuperSpeed” and indicates that the port is indeed a USB 3.0 port. The “SS” symbol is typically engraved or printed near the USB port, ensuring quick visual confirmation.
To assist you even further, we recommend referring to your motherboard’s documentation or manufacturer’s website, as they often provide diagrams or labeled images of the motherboard layout. These visuals can be incredibly helpful in locating the USB 3.0 ports accurately.
Motherboard Layouts and Variations
Understanding motherboard layouts and their variations is crucial when it comes to locating USB 3.0 ports. In this section, we’ll delve into the different motherboard designs and how the placement of USB 3.0 ports can vary. We’ll also emphasize the importance of consulting the motherboard manual or manufacturer’s website for accurate information.
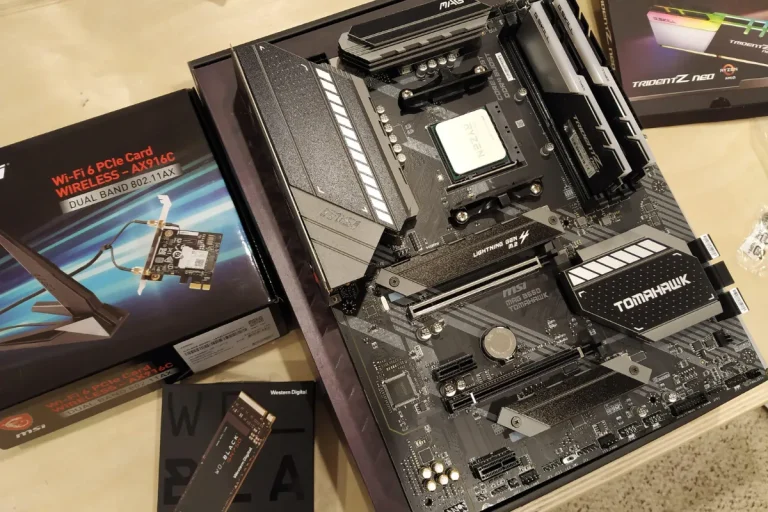
Motherboards come in various shapes and sizes, and manufacturers often have their own unique designs. As a result, the positioning of USB 3.0 ports can differ from one motherboard to another. Some motherboards may have the USB 3.0 ports grouped together in a specific area, while others may scatter them across the board.
To ensure you find the USB 3.0 ports on your specific motherboard, it’s essential to consult the motherboard manual or visit the manufacturer’s website. These resources provide detailed information about the layout and port placement, giving you accurate guidance.
The motherboard manual is typically included with the motherboard packaging, while the manufacturer’s website usually offers downloadable manuals and diagrams. By referring to these sources, you can locate the USB 3.0 ports precisely and avoid any confusion.
Front Panel USB 3.0 Connectors
Connecting the USB 3.0 ports from the front panel of your computer case to the motherboard might seem like a daunting task, but fear not! In this section, we’ll walk you through the process step-by-step, ensuring a smooth and successful connection. So, let’s dive in!
- Start by identifying the USB 3.0 connector on your motherboard. It is usually labeled as “USB 3.0” or “USB 3.1 Gen 1.” Refer to the motherboard manual or manufacturer’s website if you’re unsure.
- Next, locate the USB 3.0 cable from the front panel of your computer case. This cable will have a distinct blue connector, matching the color of the USB 3.0 ports.
- Align the blue connector on the USB 3.0 cable with the USB 3.0 connector on the motherboard. Ensure the pins on both connectors are properly aligned.
- Gently insert the blue connector into the USB 3.0 connector on the motherboard. Apply slight pressure until the connector is securely in place. Take care not to force it or bend any pins.
- Once connected, double-check that the connection is secure. Give the cable a gentle tug to ensure it doesn’t come loose.
Frequently asked questions
1. Why is my USB 3.0 device not working when plugged into the motherboard?
There could be several reasons for this. Ensure that the USB 3.0 device is compatible with your motherboard’s USB 3.0 ports. Also, check if you have the latest drivers installed for both the motherboard and the USB device.
2. How can I check if my motherboard has USB 3.0 ports?
You can refer to the motherboard manual or visit the manufacturer’s website to verify if your motherboard supports USB 3.0. Additionally, look for the blue-colored USB ports, as they are usually indicative of USB 3.0.
3. I connected the USB 3.0 cable correctly, but the transfer speeds were slow. What could be the problem?
Slow transfer speeds can be caused by various factors. Ensure that you are using a USB 3.0-compatible device, as using a USB 2.0 device will limit the speed. Additionally, check if you have the latest drivers installed for both the motherboard and the USB device.
4. My USB 3.0 ports are not providing enough power to charge my devices. What should I do?
USB 3.0 ports are designed to provide more power than USB 2.0 ports, but they still have limits. If you’re experiencing power issues, try connecting the device to a different USB 3.0 port on the motherboard. You can also consider using a powered USB hub for additional power.
5. connected the USB 3.0 cable, but my computer is not recognizing the device. How can I fix this?
First, ensure that the USB 3.0 cable is securely connected to both the motherboard and the device. Then, try restarting your computer and reconnecting the device.
Conclusion
In conclusion, plugging in USB 3.0 on a motherboard is a straightforward process that offers high-speed data transfers and convenience. By following the step-by-step instructions and ensuring compatibility and driver updates, you can enjoy the benefits of USB 3.0 connectivity. Connect, transfer, and enjoy the seamless experience.