Where do you plug RGB lights into a motherboard?
RGB lights are the latest trend in computer setups, adding a vibrant and customizable touch to your rig. But how do you connect these mesmerizing lights to your motherboard? In this guide, we’ll walk you through the process step-by-step, making it easy for even beginners to achieve an eye-catching RGB lighting setup.
RGB Lighting Compatibility with Motherboards
In order to create a stunning RGB lighting setup for your computer, it’s crucial to understand the compatibility between RGB lights and motherboards. how motherboards play a vital role in controlling RGB lighting effects and the different types of connectors they offer.
Role of Motherboards in Controlling RGB Lighting
Motherboards act as the central hub for controlling RGB lighting in your computer. They provide the necessary power and control signals to the RGB lights, allowing you to customize the colors and effects according to your preference.
By connecting RGB lights to the motherboard, you gain access to software or hardware controls that enable you to create dazzling lighting displays.
Overview of Motherboard RGB Headers
To connect RGB lights to a motherboard, you need to understand the various types of connectors available. The most common connectors are RGB headers, which are small pins or slots found on the motherboard specifically designed for connecting RGB devices. These headers vary in number and type depending on the motherboard model.
There are two main types of RGB headers: 3-pin and 4-pin. The 3-pin headers are typically used for addressable RGB (ARGB) devices, allowing for individual control of each LED on the strip. On the other hand, 4-pin headers are used for non-addressable RGB devices, where all LEDs on the strip share the same color and effect settings.
When choosing RGB lights for your motherboard, it’s essential to ensure compatibility between the connectors on the motherboard and the RGB lights you plan to use. Some motherboard manufacturers may have their own proprietary RGB connectors, so it’s important to check the specifications of both your motherboard and RGB lights to ensure they are compatible.
Types of RGB Connectors
When it comes to connecting RGB lights to your computer, understanding the different types of connectors is essential. Let’s explore the popular RGB connectors, such as 3-pin and 4-pin, and their compatibility with specific motherboard models.
Explanation of Popular RGB Connectors
RGB connectors come in various types, but the most common ones are the 3-pin and 4-pin connectors. The 3-pin connectors are often used for addressable RGB (ARGB) devices.
These connectors allow for individual control of each LED on the strip, giving you the freedom to create intricate lighting effects.
On the other hand, 4-pin connectors are used for non-addressable RGB devices, where all the LEDs on the strip share the same color and effect settings.
Compatibility of Connectors with Specific Motherboard
It is crucial to ensure that the RGB connectors on your motherboard are compatible with the RGB lights you plan to use. Different motherboard manufacturers may have their own unique RGB connectors, so it’s important to check the specifications of both your motherboard and RGB lights to ensure they can be connected properly.
Some motherboards may have multiple RGB headers, allowing you to connect and control multiple RGB devices simultaneously.
To determine compatibility, refer to the product manuals or specifications provided by the motherboard manufacturer. These resources will provide detailed information about the types of RGB connectors supported by the motherboard and the specific pins or slots to use for connection.
Identifying RGB Headers on Motherboards
To successfully connect RGB lights to your motherboard, you need to know where to find the RGB headers. In this section, we’ll provide a step-by-step guide on how to locate these headers on your motherboard. Additionally, we’ll give you an overview of common motherboard manufacturers and their typical RGB header placements.
Step-by-Step Guide to Locating RGB Headers on Motherboards
- Consult the Motherboard Manual: The first step is to refer to the manual that came with your motherboard. The manual will provide detailed information about the layout and components of the motherboard, including the location of RGB headers.
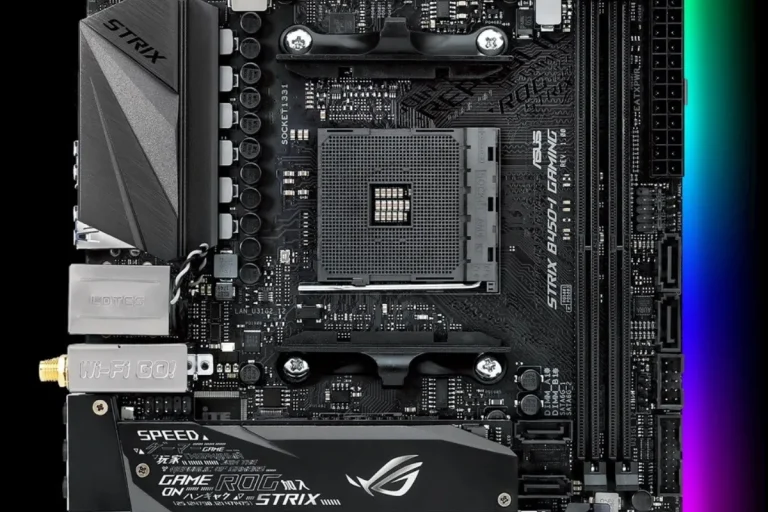
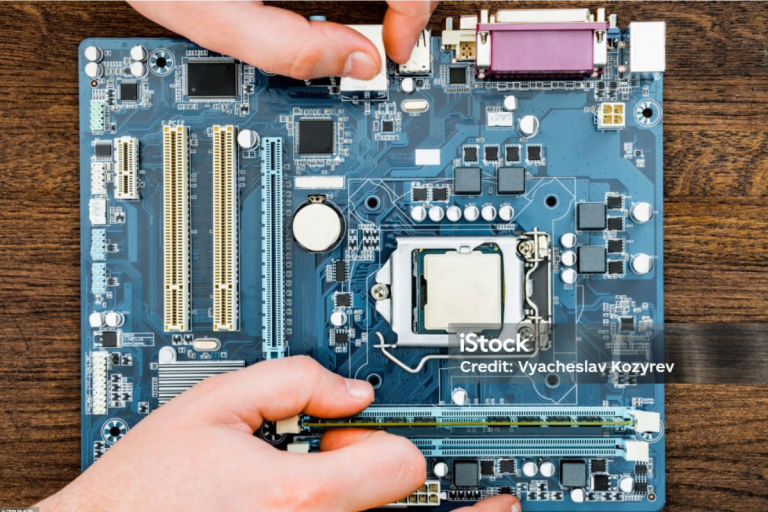
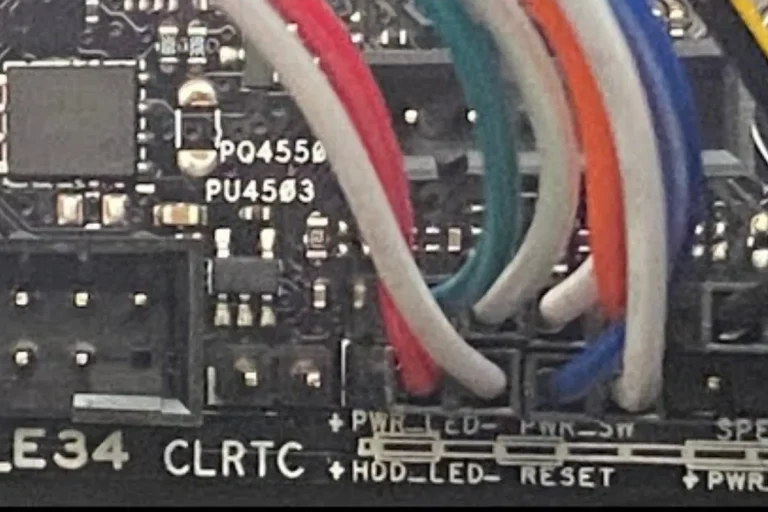
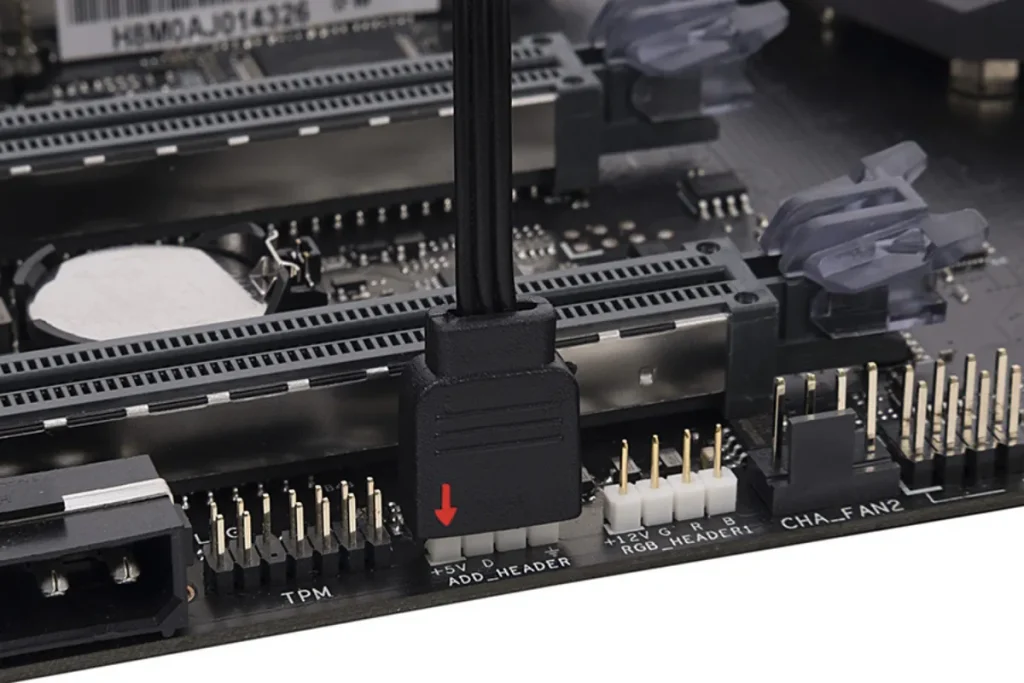
- Inspect the Motherboard: Carefully examine the motherboard itself. Look for small pins or slots labeled as “RGB,” “LED,” or “ARGB.” These are usually located near the edge of the motherboard or in a designated section specifically for RGB connectors.
- Check the Motherboard’s Website: If you can’t find the information you need in the manual, visit the official website of the motherboard manufacturer. They often provide online resources, including diagrams and guides, to help users identify the location of RGB headers.
Overview of Common Motherboard Manufacturers
Different motherboard manufacturers may have their own unique designs and layouts. Here’s a general overview of where you might find RGB headers on motherboards from popular manufacturers:
- ASUS: ASUS motherboards typically have RGB headers located near the top or bottom edge of the motherboard, often labeled as “RGB” or “ARGB.”
- Gigabyte: Gigabyte motherboards often feature RGB headers placed along the bottom edge, near the SATA ports or DIMM slots. Look for labels like “LED_C1” or “LED_C2.”
- MSI: MSI motherboards commonly have RGB headers positioned along the right-hand side of the motherboard, near the edge. Look for labels like “JRGB” or “JRAINBOW.”
Frequently Asked Questions
1. How do I connect RGB lights to my motherboard?
To connect RGB lights to your motherboard, locate the RGB header on your motherboard and align the pins of the RGB cable with the header. Gently push the connector onto the header until it is firmly seated.
2. What if my motherboard doesn’t have an RGB header?
If your motherboard lacks an RGB header, you can use an RGB controller or an RGB hub. These devices allow you to connect and control RGB lights without relying on a motherboard header.
3. Can I connect multiple RGB lights to a single motherboard header?
Yes, you can connect multiple RGB lights to a single motherboard header using a splitter cable. However, it’s essential to check the maximum supported current of the header to avoid exceeding its capacity.
4. How do I ensure a secure connection between the RGB cable and the motherboard header?
When connecting the RGB cable to the motherboard header, ensure that the pins and the corresponding holes on the connector align correctly. Apply gentle pressure while pushing the connector onto the header to ensure a secure connection.
5. Are there any specific precautions I should take when connecting RGB lights to my motherboard?
Yes, a few precautions are essential. Make sure to power off your computer before connecting or disconnecting the RGB lights. Additionally, carefully read the motherboard manual to understand the specific requirements and limitations of the RGB header.
Conclusion
the world of RGB lighting offers a plethora of software options for controlling and customizing your lighting effects. Whether you prefer the convenience of motherboard manufacturer software or the versatility of third-party options, there’s something for everyone. So go ahead, unleash your creativity, and make your setup shine with stunning RGB lighting